Menu
DIY Exploding Box Card
By Phoebe Nguyen | DIY

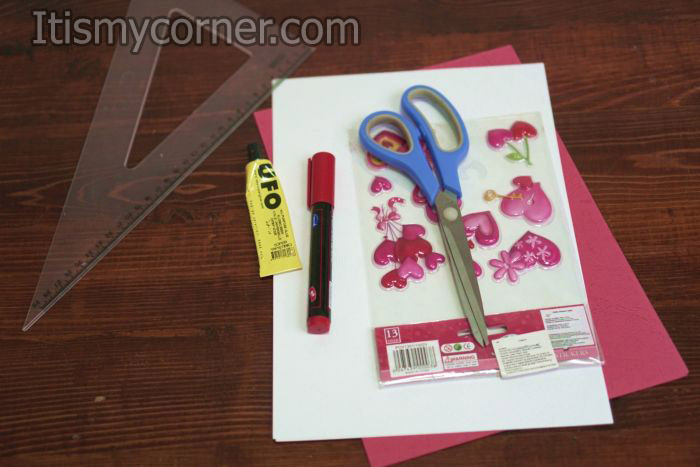
How to Make Exploding Box CardAn exploding box is nowhere close as dangerous as it could be sounding. The term is used in describing boxes, which have been created cunningly, so that the side cascade in outwards direction while the lid is removed. You only need to place the gift in the middle of the box. You can make a small gift box, and then attach your special gift to the center of the box.
A cardstock or a thick paper can be used in creating this box. A better structure can be created using chipboard or a thicker card. However, it is very important to practice out using scrap materials just before advancing to the quality cardstock or paper.
You can present a small gift using this box. It will make unusual and lovely favor box, maybe for a special or wedding ceremony. You only need to play around with the colors of the box, depending with the nature of the occasion. Always make it as lovely and beautiful as you can.
DIY Exploding Box Card
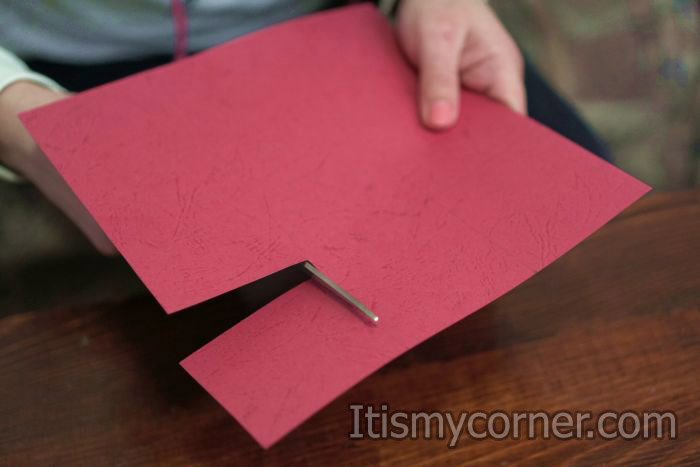
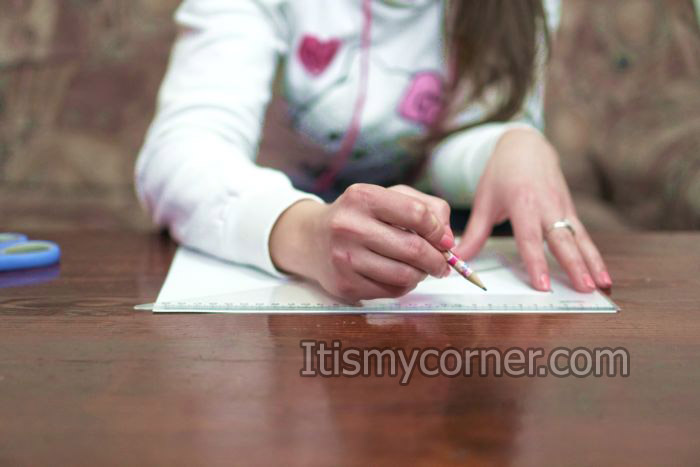
First, take one of the cardboards, measure 7 cm 3 times in a row. Repeat the same procedure on the opposite side of the sheet and also make the same marks on the other side. In this way you are going to get 9 squares with size 7cm x 7cm.
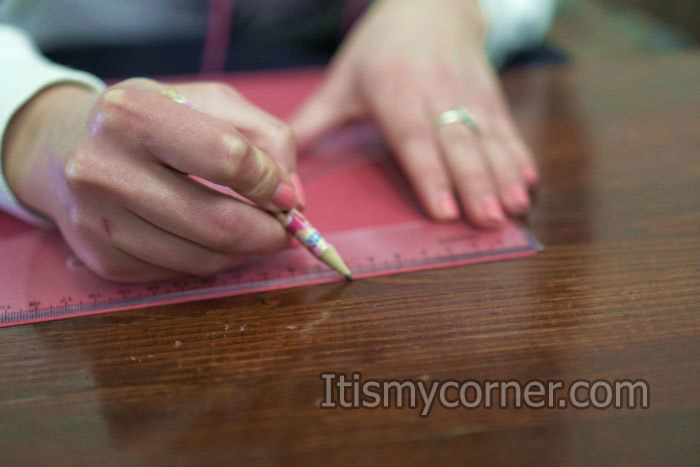
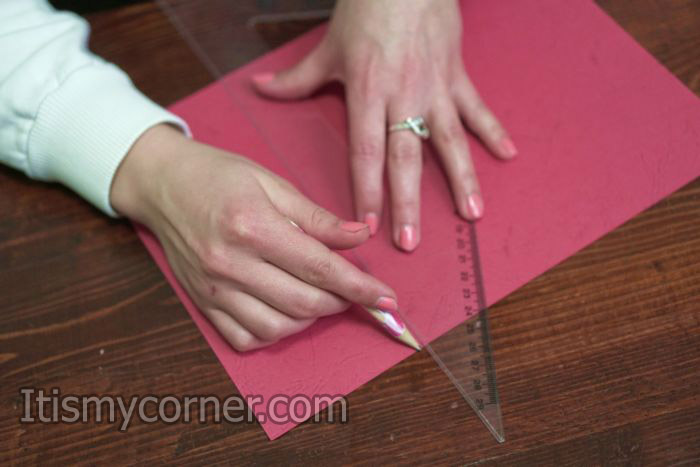
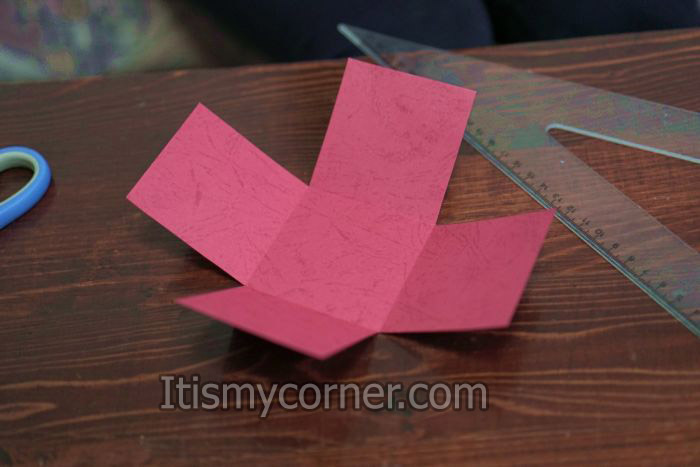
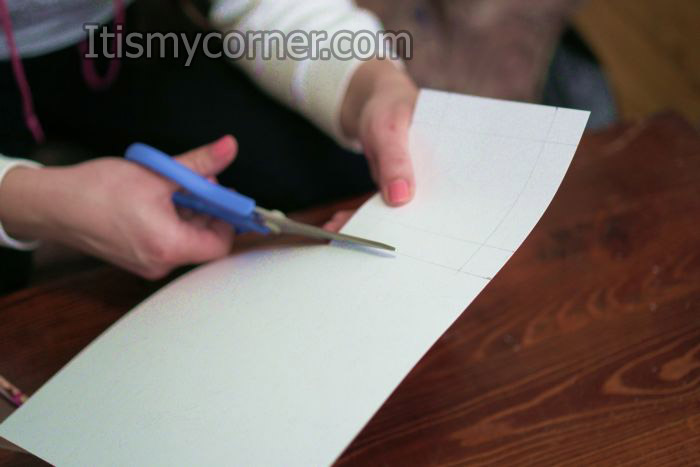
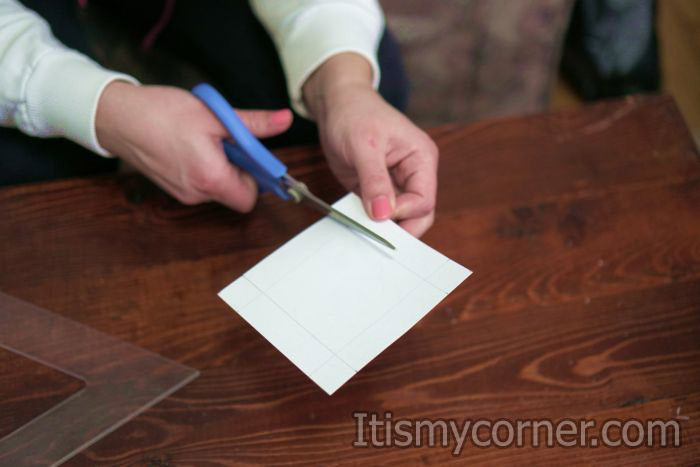
Now, cut the first one, leave the second one, cut the third one. Leave all the squares on the second row. And for the third row repeat the same procedure as in the first row. So you are going to get something like a shape of a cross.
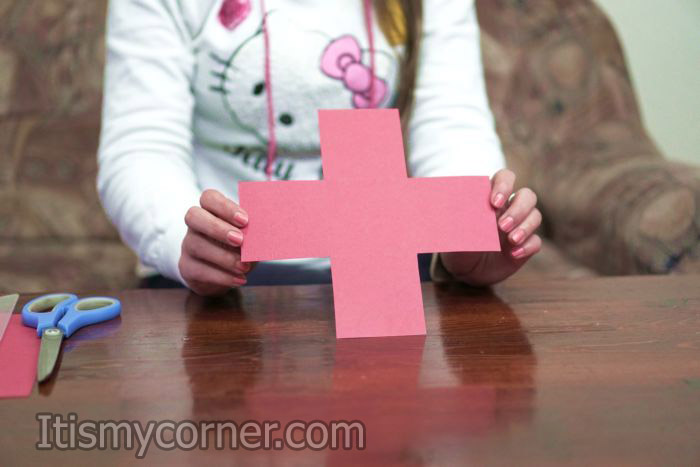
That is your box. You just have to fold on the lines that left.
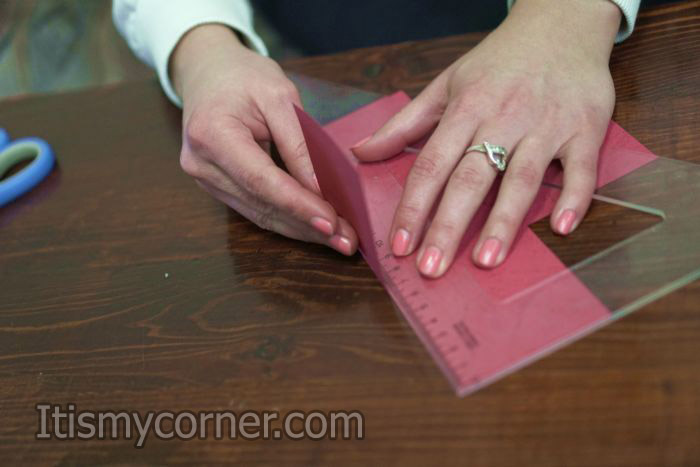
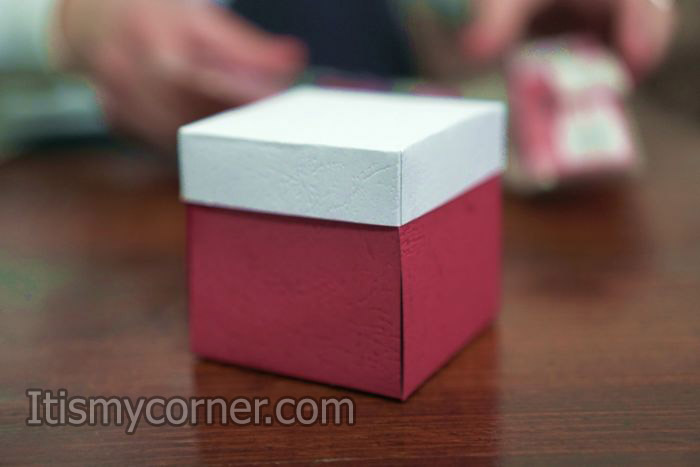
Now it’s time to make the top or the cover of the box. I wanted to make that one in different color in my case red box, white cover. You will need also a shape of square with dimensions 9cm x 9cm.
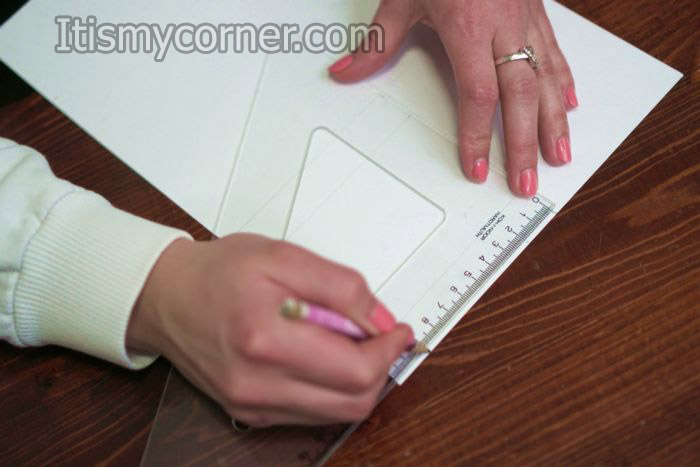
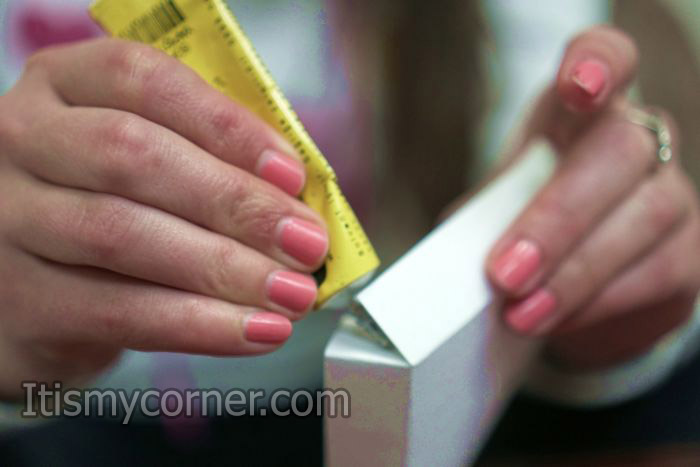
When you cut this square you are going to fold it on 2cm from all the sides or on 1,8cm depending of that how thin or thick your cardboard is. Now, cut the two sides on the opposite as you can see on the picture.

Put some glue on the pieces that you’ve cut. And you have your cover finished.
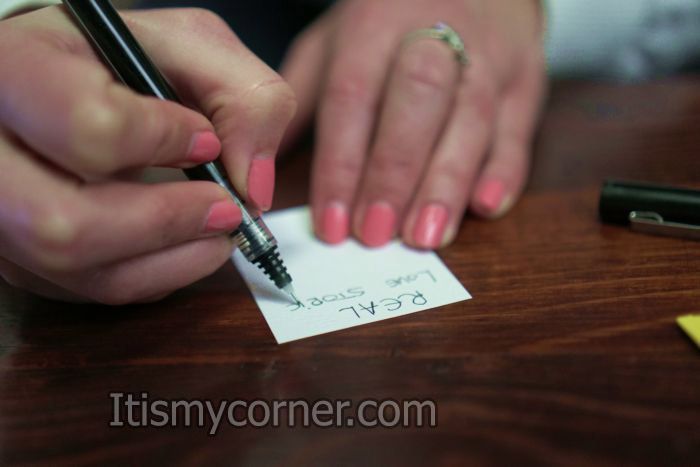
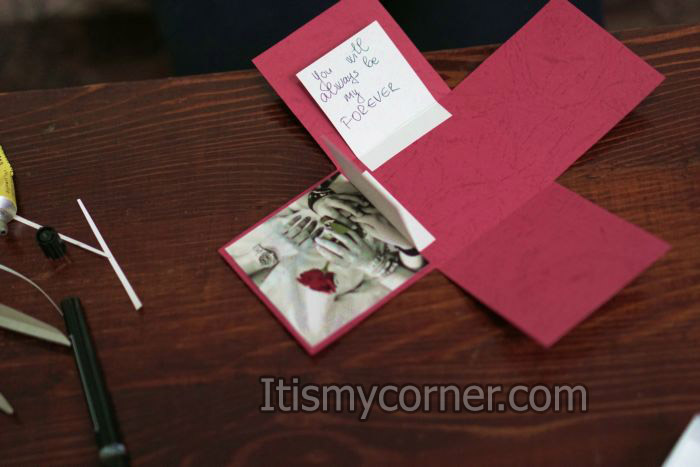
To make your box more beautiful you can start with decoration. As you know, the possibilities for decorating the inside of the box are limitless. I’ve decided for every side of the box to make one more side smaller than the previous one in different color. In my case I’ve used red and white cardboard. The smaller side is going to be also a square, but you are going to cut it in a shape of rectangle with size 5cm x 6cm and you are going to fold on 1 cm on the bigger side. You are going to use this fold to glue this side on the bottom of the box. Repeat the same procedure 3 more times. So on the bigger sides I’ve decided to glue some pictures and on the smaller sides of the explode box I’ve decided to write some interesting quotes.
Fold the sides of the card, put the cover on it and you have the perfect gift for any occasion.
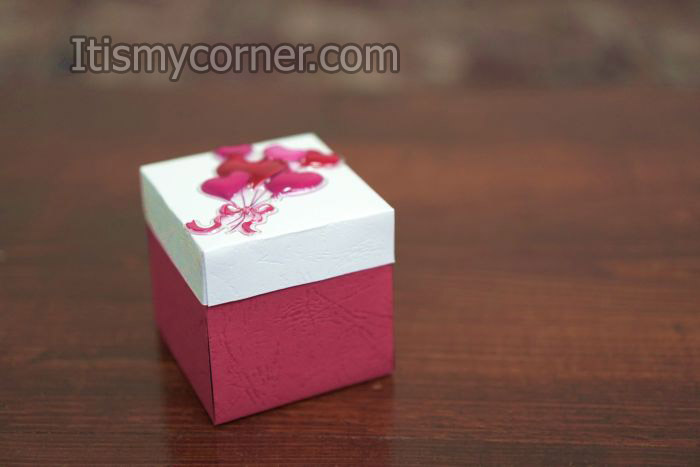
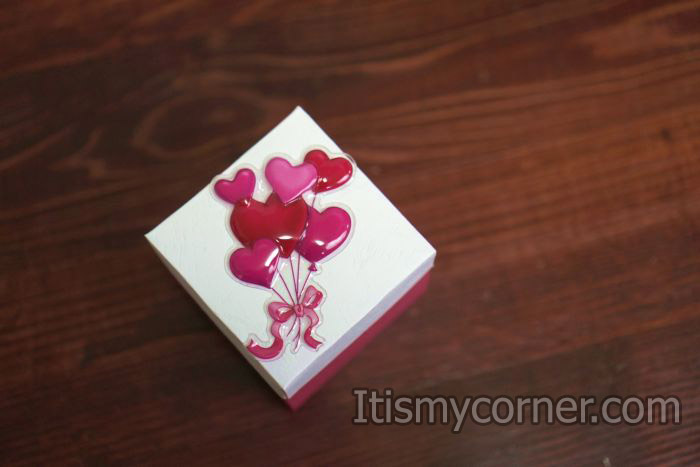
You can decorate it also as you wish or by your taste. I’ve decided to put one sticker on the cover of the box.
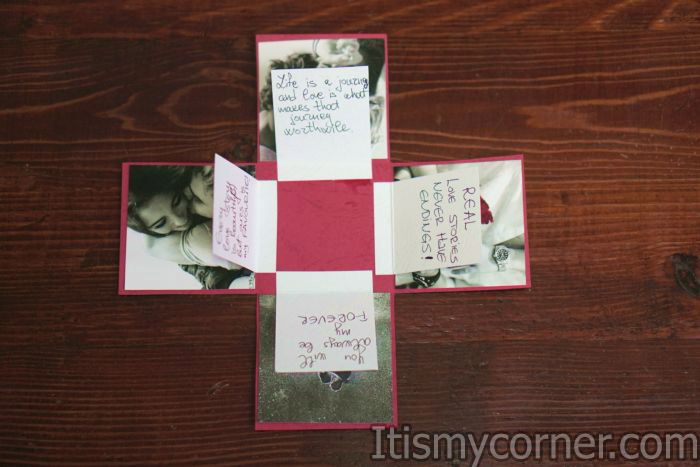
When the person that is meant this card for is going to open, it is going to explode on all the sides. Know that you can also put a little gift inside of the box to make your surprise much bigger. Now it’s only time to enjoy with your love one in making more beautiful memories.
My name is Phoebe, and I reside in Santa Ana, California. Whenever I go through a day that’s been full of nothing but stress, I like to unwind by taking part in various types of crafting, which has always been one of my favorite hobbies. I also enjoy crafting as a way to simply pass the time whenever I don’t have anything else going on.