Menu
DIY 3-D Photo
By Phoebe Nguyen | DIY

This beautiful craft combines the love of 3-D with photography. In this DIY, you will learn how to implement all the stages of this craft to make art.
You might wonder what to get the person who has it all, but guaranteed, the individual does not own anything quite like this. That’s because photography captures a memory in time that is impossible to recreate. Let your memories with others live on forever by making them this gift to cherish.
All you need for this craft is a photo and the materials that are listed in the video. You will then enjoy simple and easy to follow step by step instructions. You can pause the video at any time you need in order to catch up.
Learn a new skill to make memories into art. You will have many friends asking about your new found talent. So let’s get ready to make art.
DIY 3-D Photo
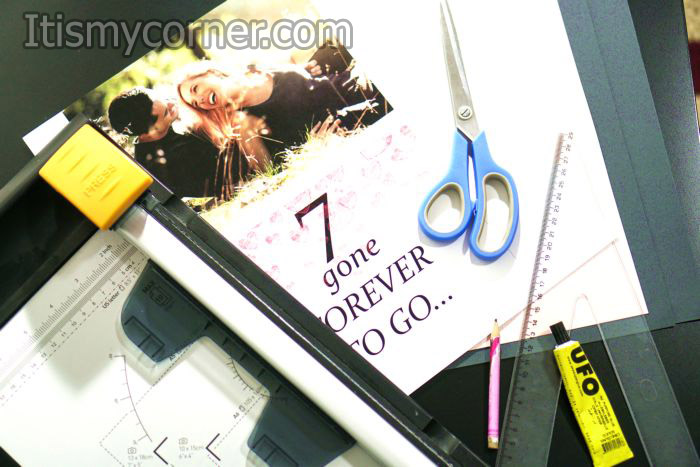
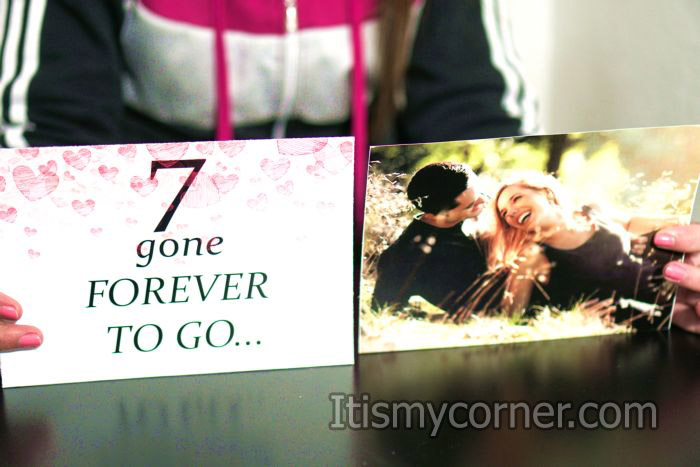
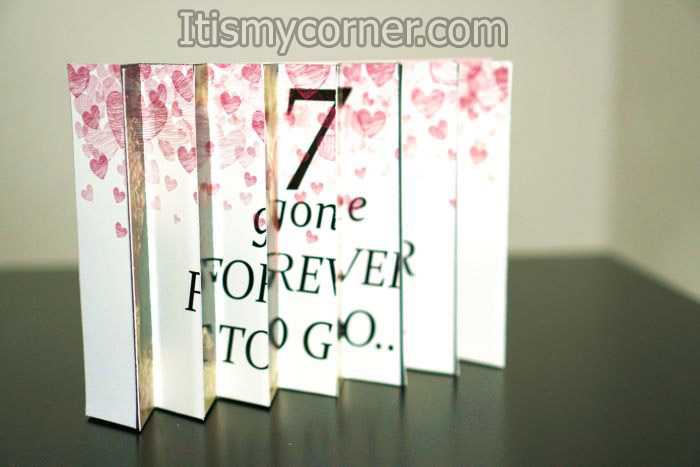
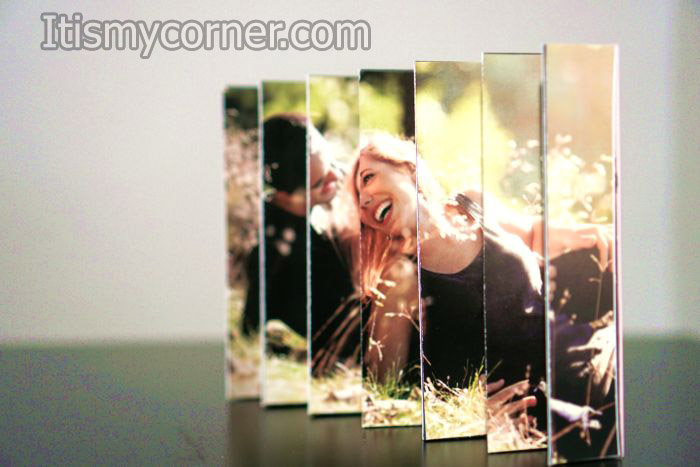
First you have to choose one of your favorite photos and cut it on dimensions in Photoshop. I’ve decided my picture to be 21cm x 10cm. Also, I’ve chosen one quote, and printed it with the same dimensions 21cm x 10cm.
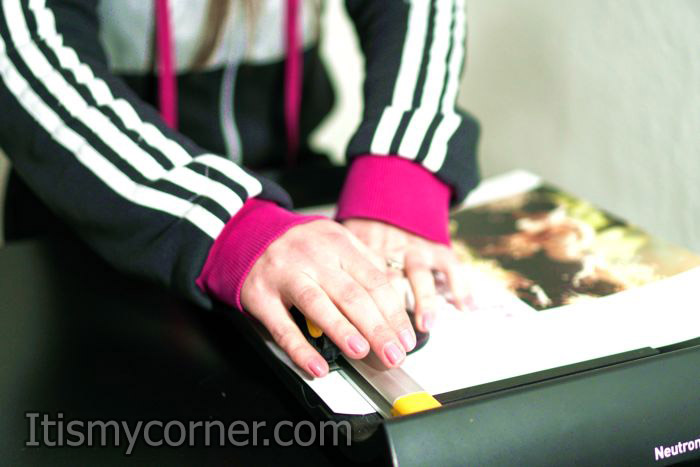
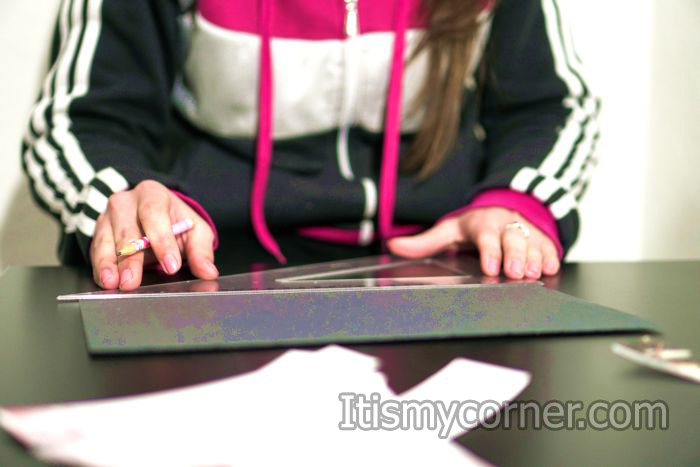
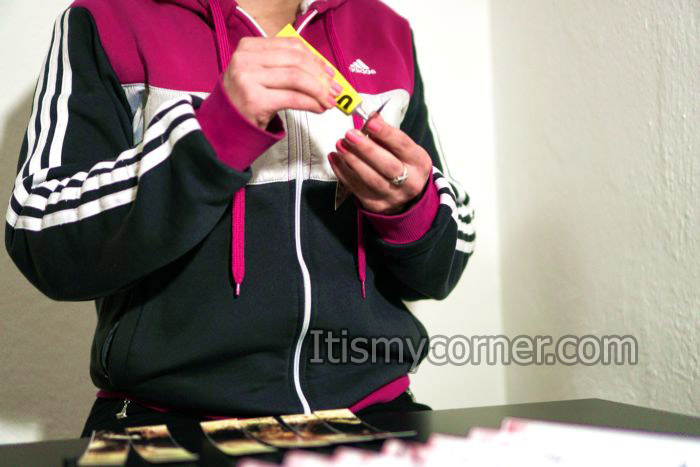
Now, take one of your cardboard and cut it on 10cm x 21cm. Make sure that this cardboard is harder and thicker. To cut the cardboard you can use scissors, but I’ve used my machine for cutting and folding.
Then, cut your message and the picture the way they are printed. You should end up with two pieces of cardboard, both with dimensions 21cm x 10cm on the one you need to have the quote on the other piece of cardboard you need to have the picture.
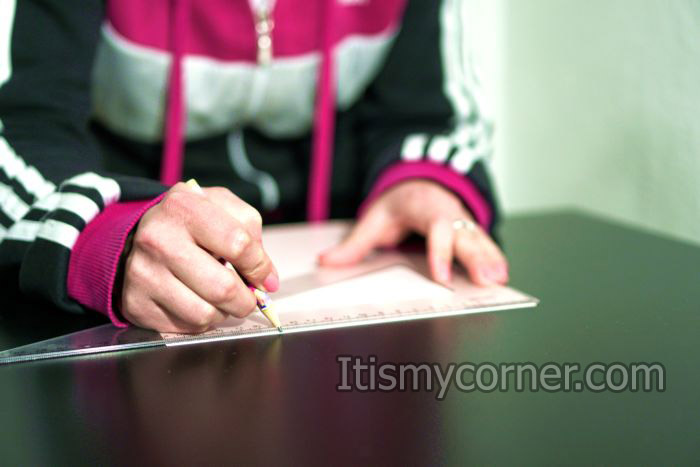
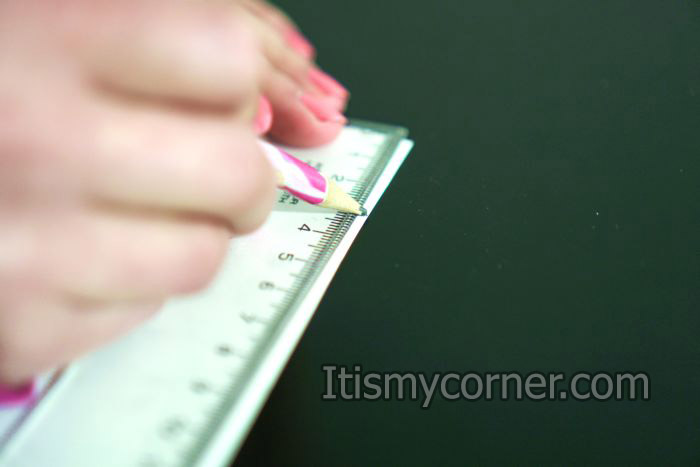
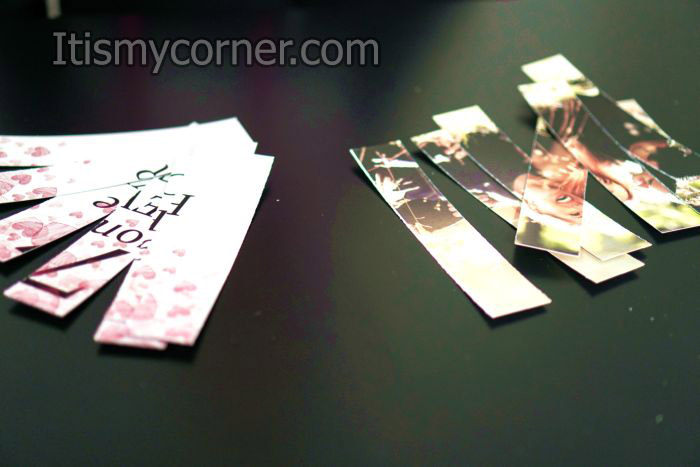
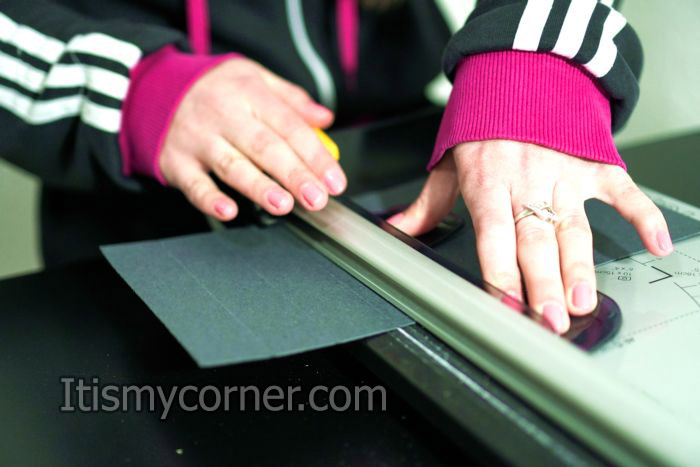
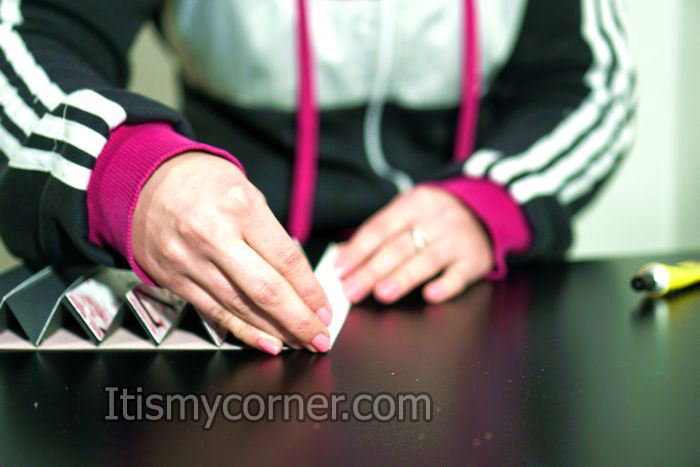
Take the picture first, turn that cardboard on the back side and put marks on every 3cm. When you are finished with measuring cut the picture on the marks you’ve measured previously. You should get 8 stripes 3cm wide and 10cm long. Repeat the same procedure with the quote, and you also have to get another 8 stripes with the same lengths and height as the one from the photo.
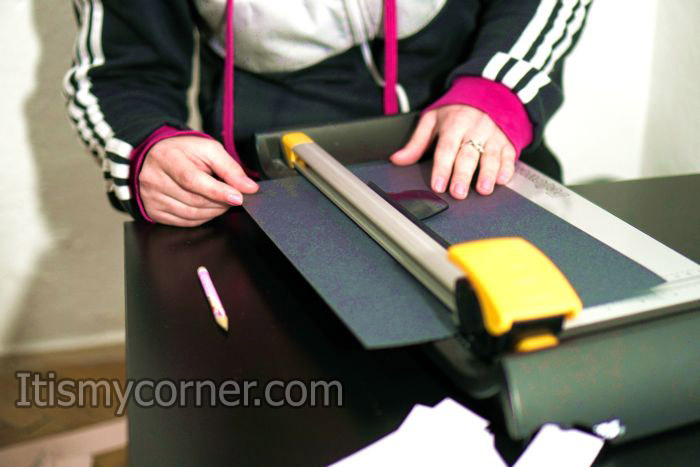
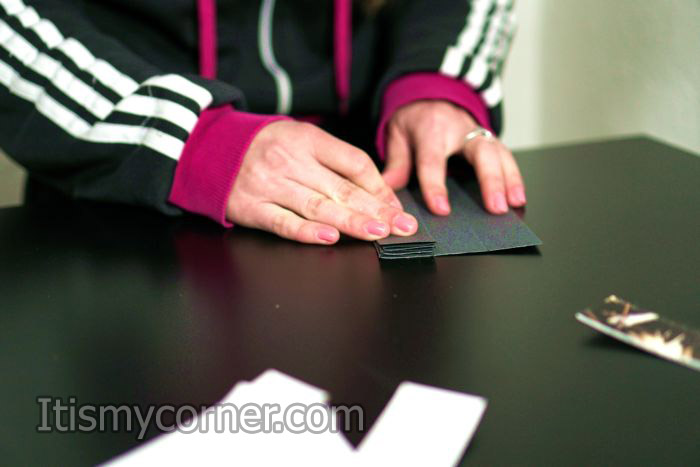
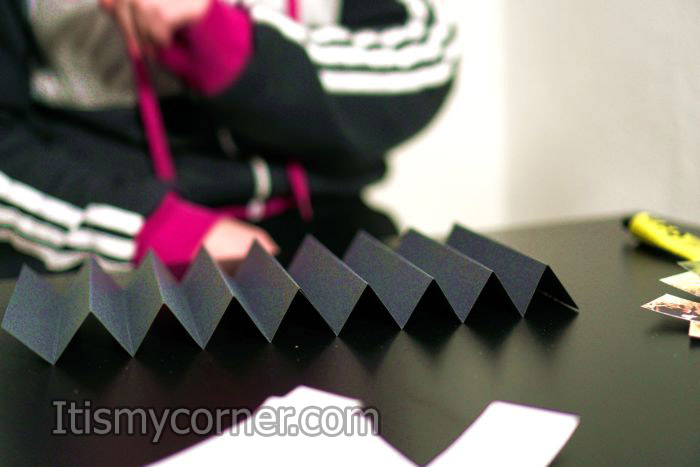
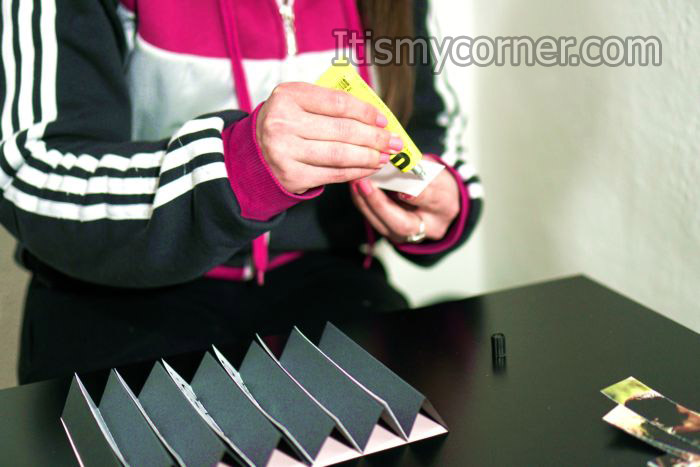
The other cardboard I’ve used was black and it was thinner. Remember that you always choose the colors by your taste. I took the black cardboard in A4 size I’ve cut one piece with 10cm height and I’ve started to mark that piece on every 3cm. Then I’ve folded on the marked places and when you are finished with this step you have to get something like long stripe in zig zag shape.
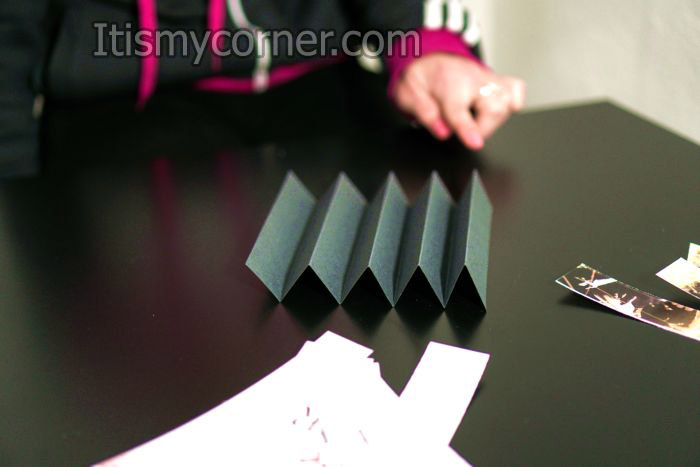
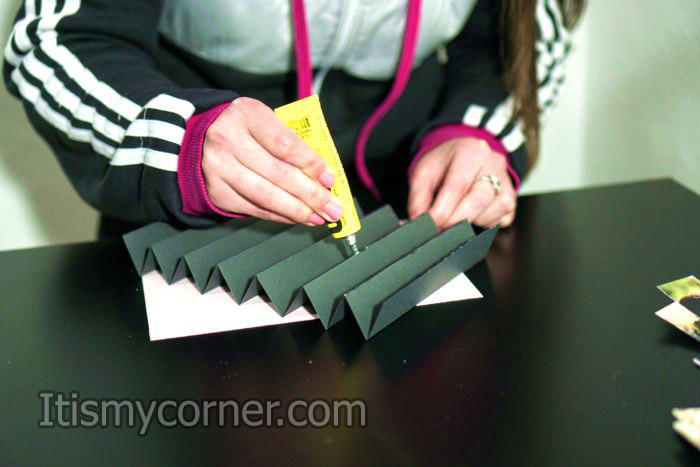
Put some glue on the bottom of every triangle of the black cardboard and glue it on the previous clean cardboard you’ve already cut. You should end up with something like on the picture below.
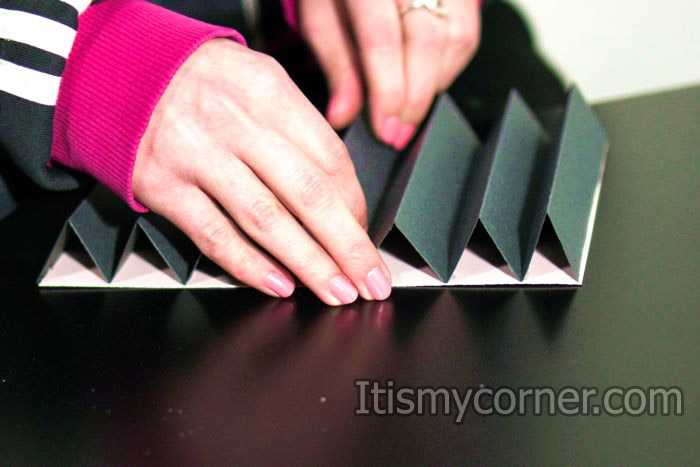
Now, take all the stripes of the quote and glue them on the one side of those triangles using some paper glue. Make sure that you are going to glue them in the right order. Then, turn the cardboard with the triangles on the other side and glue the pieces of the picture there. Also, be careful with the order. In case the zig zag stripes needs to be longer glue another stripe on the previous one.
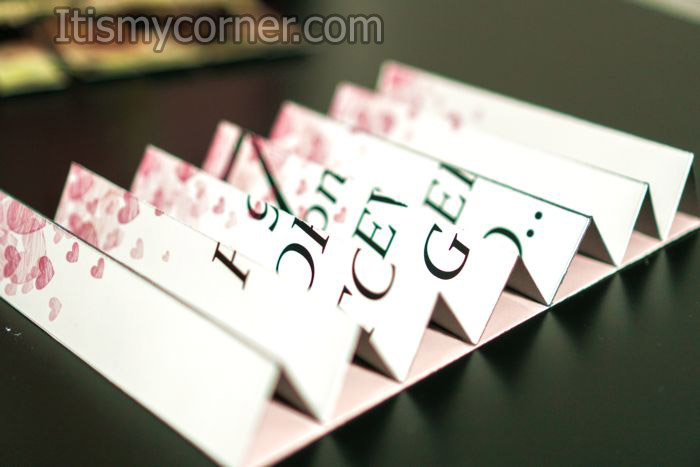
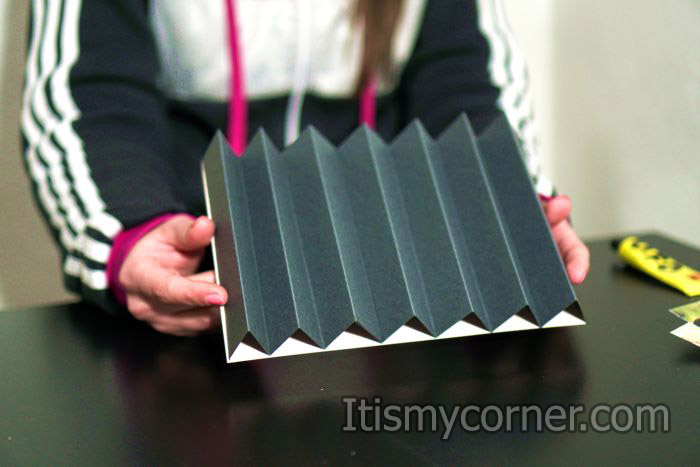
When you finish this project you will get perfect 3D picture. If you turn it more on the left you will be able to read the message and if you turn it more on the other side you will be able to see the picture. This will be the final step if you want to put your picture somewhere on a flat surface. In case you want to hang it on the wall you will need to put something like knot of a thread so you will be able to hang your photo. This can be perfect gift of any occasion and also know that you can use two photos instead of picture and quote.
Here is the final look of this project.
My name is Phoebe, and I reside in Santa Ana, California. Whenever I go through a day that’s been full of nothing but stress, I like to unwind by taking part in various types of crafting, which has always been one of my favorite hobbies. I also enjoy crafting as a way to simply pass the time whenever I don’t have anything else going on.