Menu
DIY Gift – How To Recycle Your Old CDs
By Phoebe Nguyen | DIY

Do-it-yourself gift ideas are in very high demands worldwide. This is for the very simple reason that no one ever wishes to pick a gift that looks like others. Nobody ever wishes to walk into a store, pick a very nice gift for his loved one, only to spot another person with a similar gift. Each person generally wishes to be unique and stand apart from the others.
There are plenty of do-it-yourself gift ideas in existence at the moment. Each of them is unique and personalized to meet the specific needs of each person. Chances are that you too might have your own idea. However, you, by all means, require the best possible idea out there.
Handmade gifts are by far the loveliest ways of expressing your care and concern for your loved ones. There are also several other easy-to-make gifts especially by those who enjoy crafting. In the subsequent discussions, I will let you know how to make great do-it-yourself gifts from old CDs.
DIY Gift From Old CDs
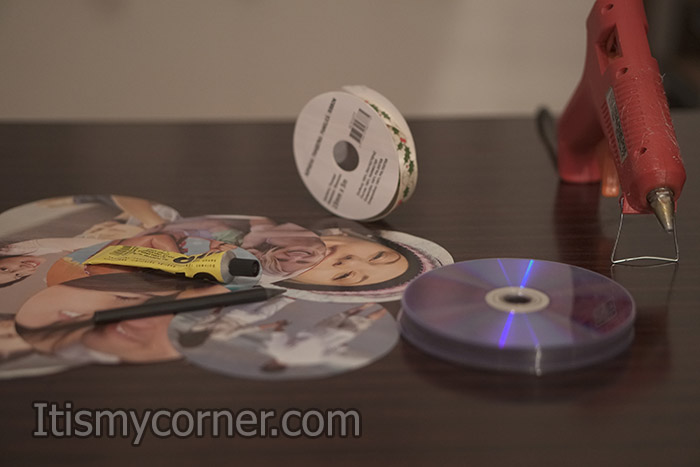
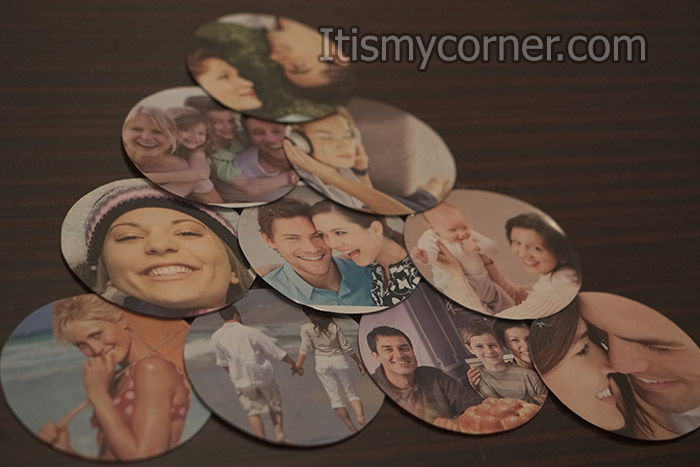
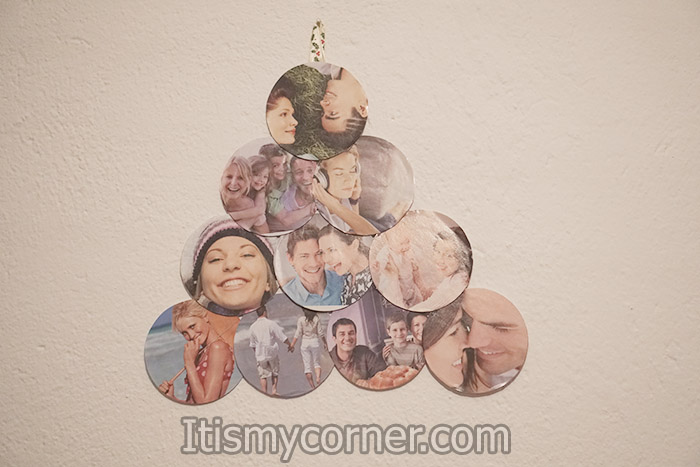
First pick some of your favorite pictures. I’ve used 10 CDs so I’ve picked 10 pictures. You have to be sure that the picture you’ve already chosen will fit on the CD, so you are going to print your pictures with same size as the size of one CD. You can always use more or less pictures and CDs. My idea was to glue a few rows of old CDs starting with bigger number and ending with 1 CD so you will get some shape of a triangle. But you can use your imagination and make some new shape for example a few rows with same number of CDs just moved to the left and to the right. I’ve started with 4 CDs and finished with 1 so I’ve used 10 CDs.
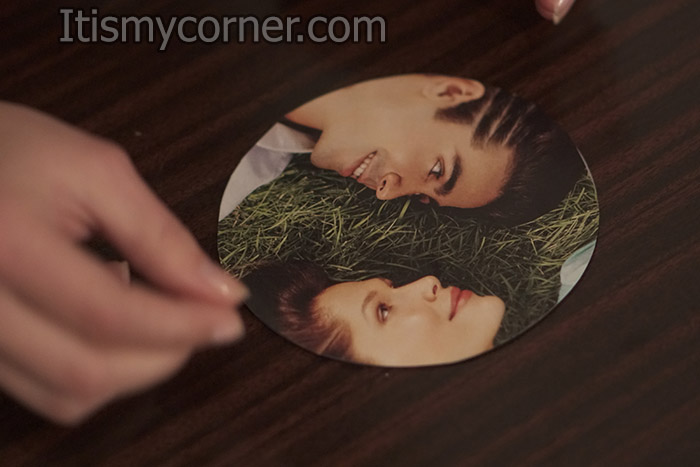
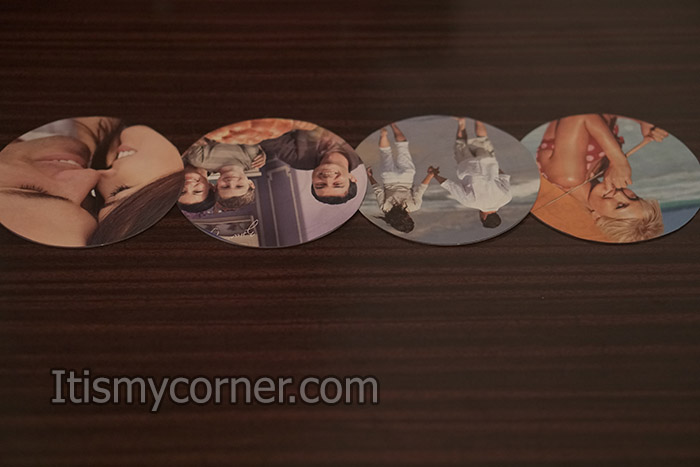
Take one CD, put it on one picture that you’ve already printed, draw a circle on the picture that will be the same size as the CD and cut the picture using scissors.
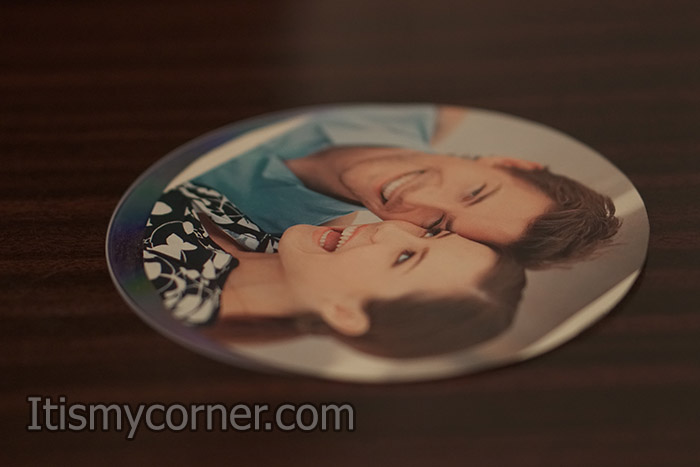
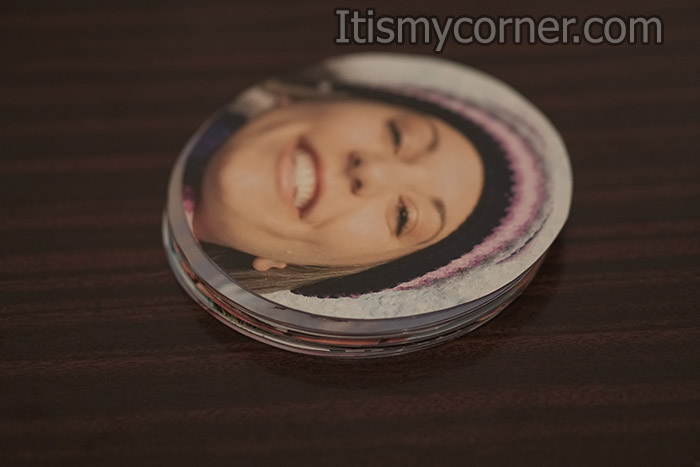
Repeat the same procedure for all the CDs. As I mentioned before I’ve used 10 CDs so I’ve cut 10 pictures. There is also another version to do this. You can first cut circles of cardboard, you can use black cardboard. Then glue that circle on the CD and now the size of the circle with the pictures need to be smaller than the previous one and you are going to glue it on the center of the CD. In this way you will get something like Black frame around the picture. You can use any color of cardboard you want to, I’ve only mentioned black as an example.
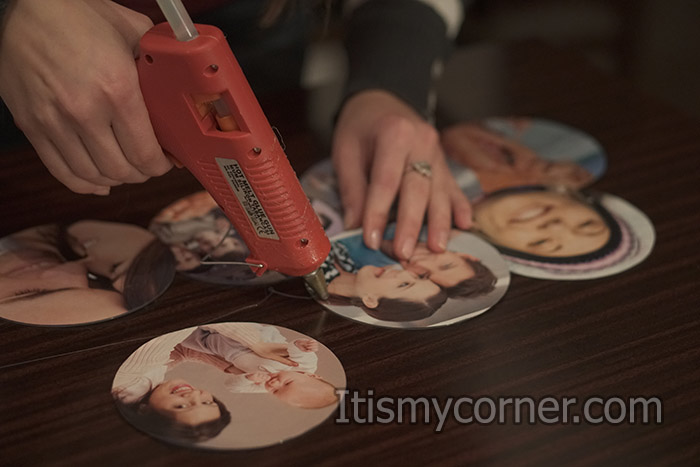
For gluing pictures on the CDs I’ve used regular glue, but you can use any type of glue you think it will work for you. Now it’s time to glue the pictures on the CDs.
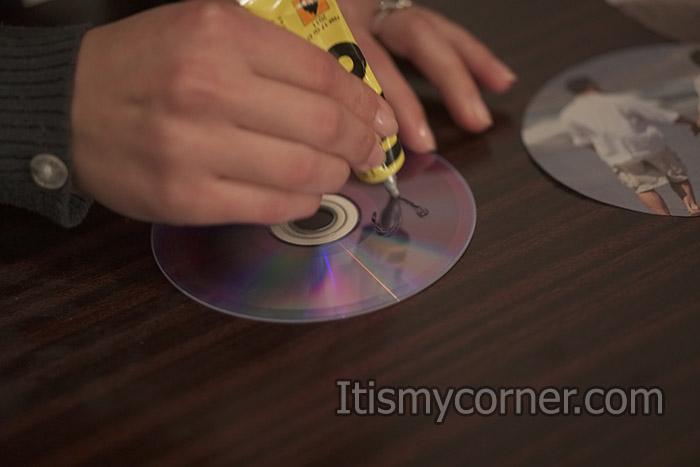
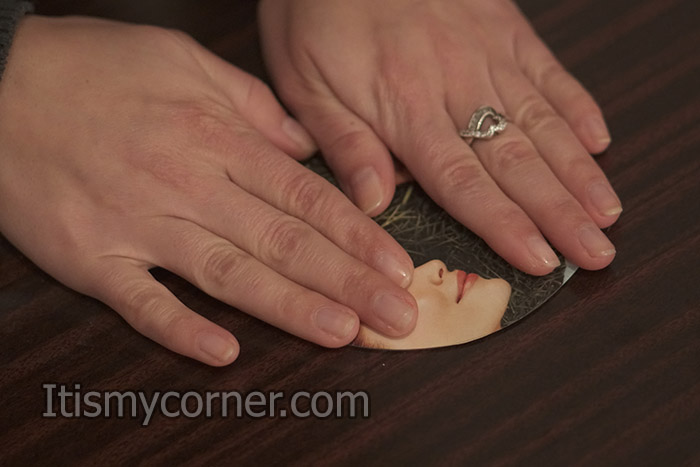
When you finish with this step you can continue with the next one which is attaching the CDs one to the other.
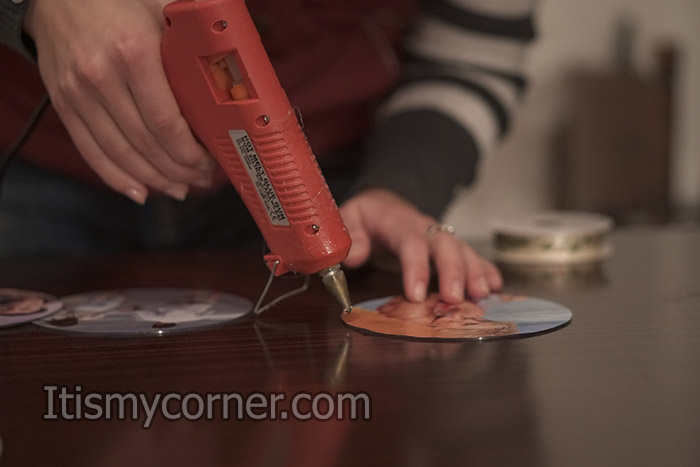
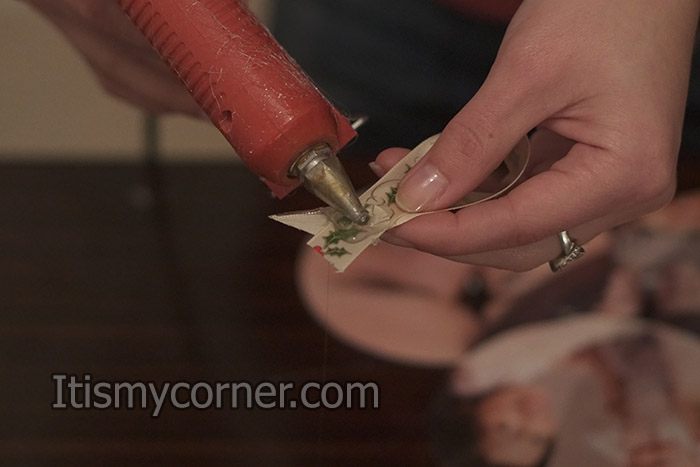
As I’ve already mentioned I’ve used 4 CDs for the bottom row. Take the hot glue gun, start putting some glue on one end of the first CD, put the second one on the glue and attach the two CDs.
Repeat the same procedure for the first row. For the next one glue the CDs at the bottom row and one next to the other.
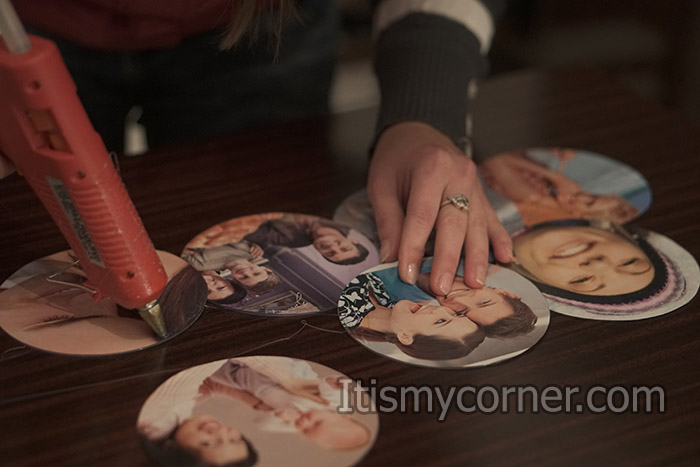
Keep repeating the procedure until you glue all the CDs.
When you reach the top with the last one you are going to need something to hang the CDs on the wall. I took a little ribbon, made a knot, cut it and glue it on the back side of the top CD.
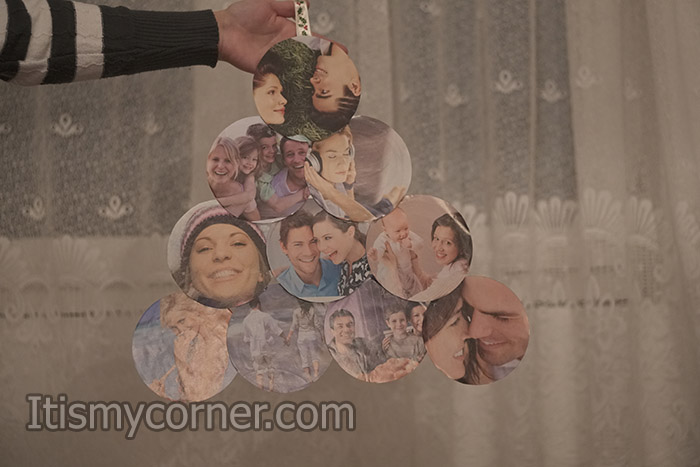
When everything is completely dry you can hang your decoration on the wall, decorate the room a little bit and prepare for the perfect spent time.
My name is Phoebe, and I reside in Santa Ana, California. Whenever I go through a day that’s been full of nothing but stress, I like to unwind by taking part in various types of crafting, which has always been one of my favorite hobbies. I also enjoy crafting as a way to simply pass the time whenever I don’t have anything else going on.