
Menu
DIY Photo Lens for Your Significant Other
By Phoebe Nguyen | DIY

In order to find the perfect gift for your significant other, it can be hard to know exactly what to buy. You have to find something that they are interested in. For those whose significant other is interested in cameras or is a photographer, there are an array of things that would make a great gift. A new camera, or a new piece of camera equipment, could turn out to be the perfect gift for them to add to their collection of photography accessories.
If, however, you are looking for a way to make a gift even more personal, then this photo lens that you can make yourself would be the perfect solution. If you take the time to personally hand craft it, then the time poured into it will show your significant other how much you care about them. For anyone whose significant other is into photography, following this guide to make a photo lens could turn out to be the perfect gift.
DIY Lens Set
This is perfect gift for someone that is obsessed with making good pictures or for some professional photographer.
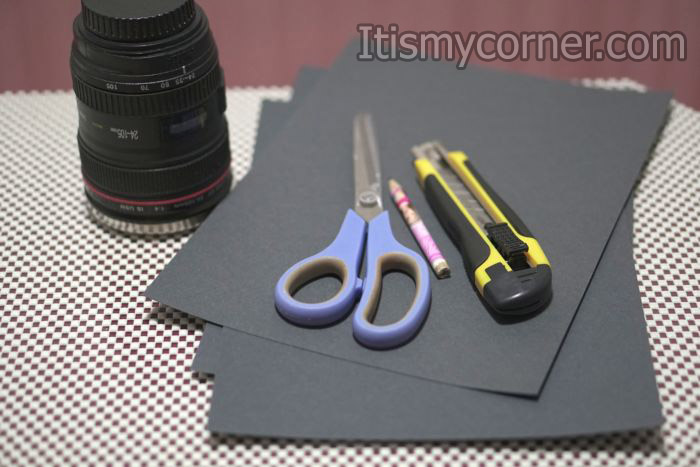

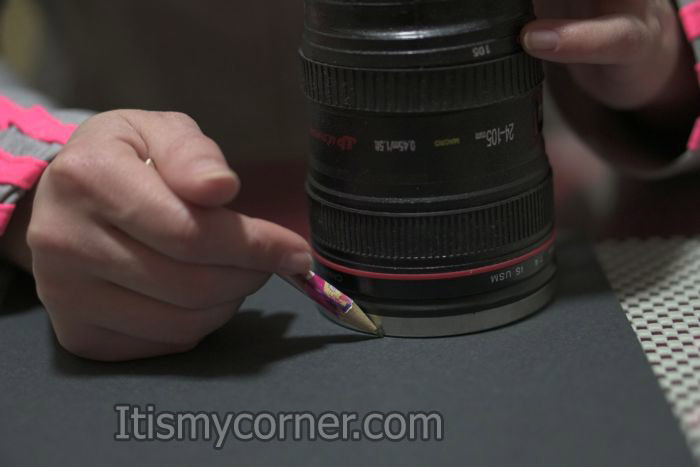
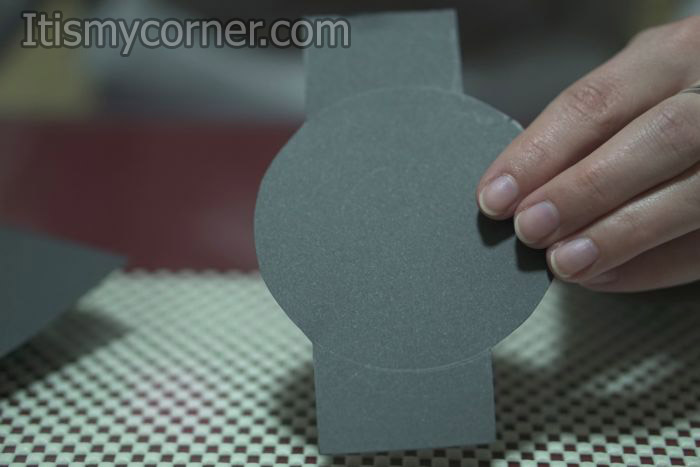
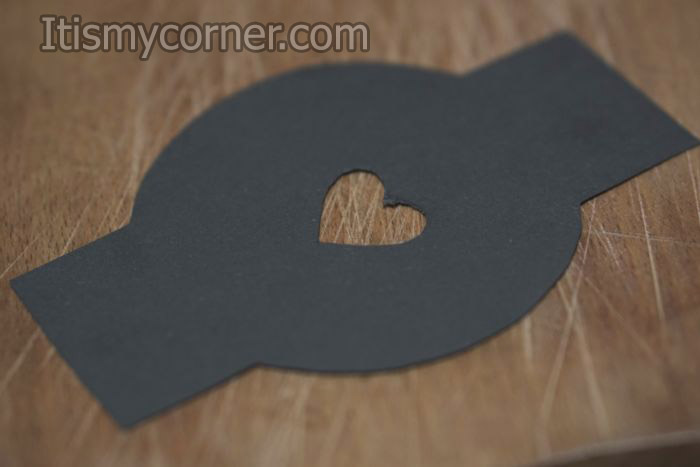
First you have to measure the size of the lens that you are going to use to create this effect. There are several ways to make this step. You can take some ruler and measure the diameter of the lens, or you can simply take the lens, turn it down towards the black cardboard and draw few circles on the black cardboard. The number of the circles depends of that how many different shapes you have in mind and how many items you want your set to be.
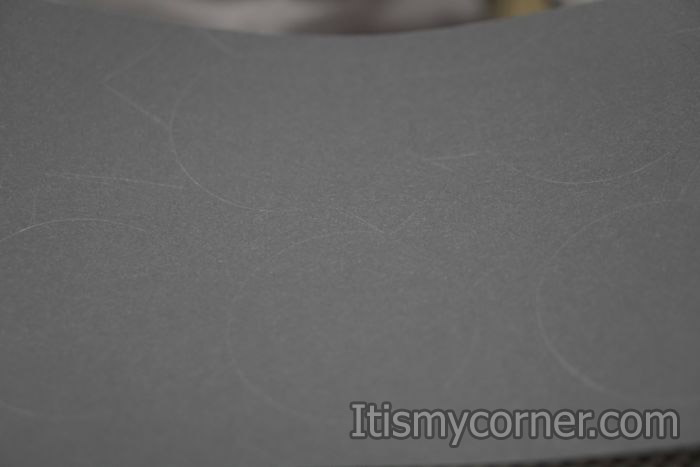
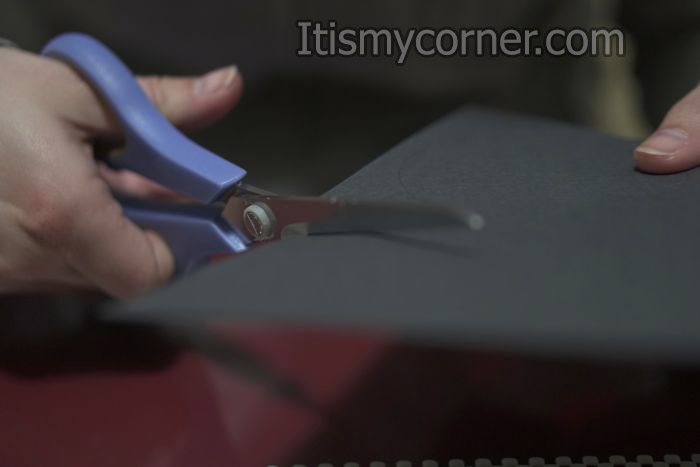
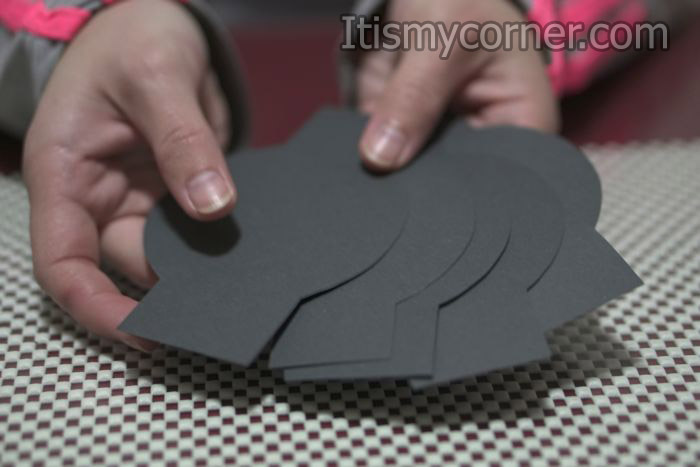
When you have your circles drawn you are not going to cut them as they are. Remember that you will need some additional cardboard so you can attach them on the lenses. There are several ways to do this but I’ve chosen the following one. On every circle draw some wider and longer stripes on the two opposite sides of the circle. When you finish this step you can now cut the cardboard.
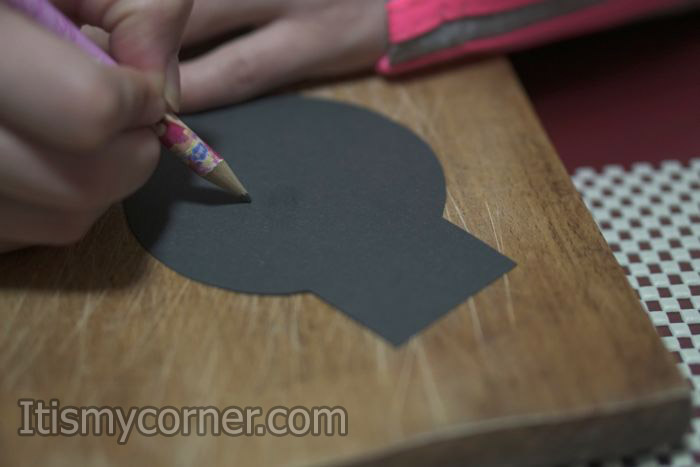
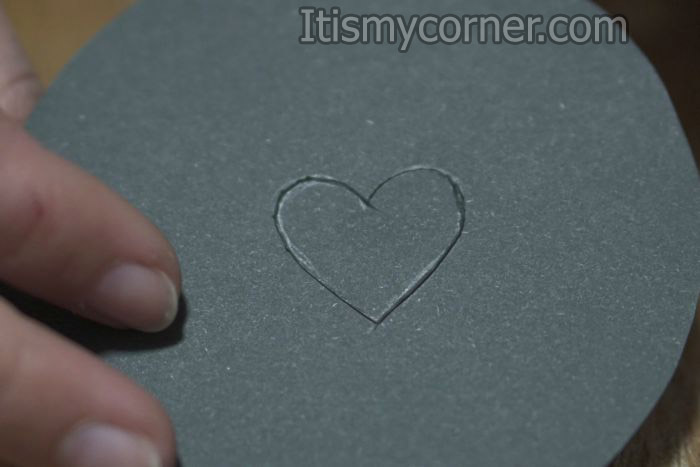
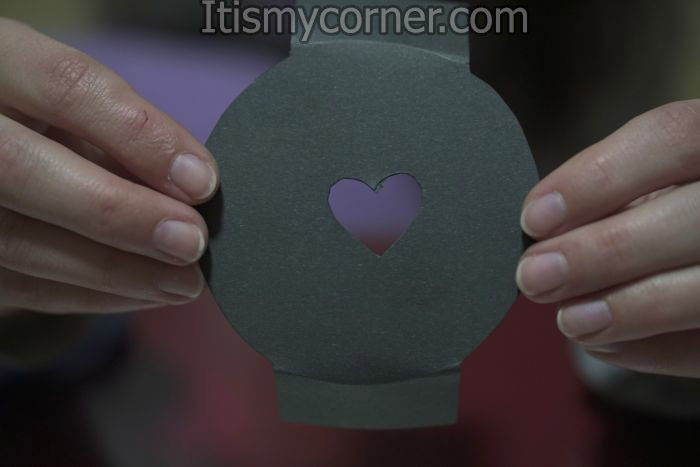
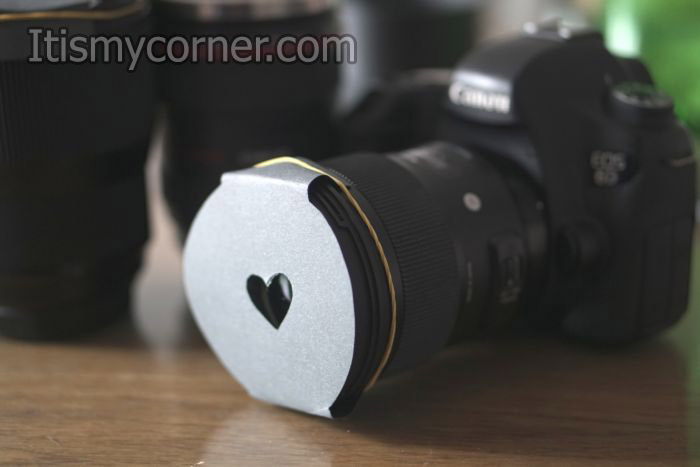
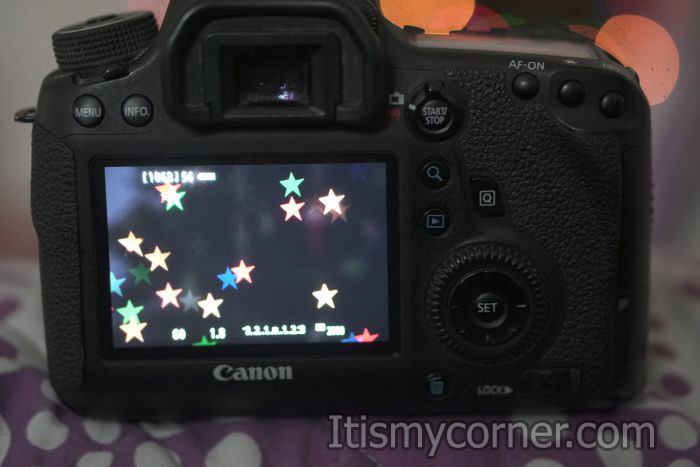
Now it’s time for the fun part of this project. You can search a little on Google to find some shapes that you can draw on the center of those circles. I’ve chosen that my set is going to be created out of three pieces. On the first one I’ve drawn heart shape. You can draw it with free hand or you can use some mold. When you draw the wanted shape it’s time to cut it. I’ve cut mine using scalpel, for me it looked like it is the easiest way. You can choose your own way to cut the shapes in the center. When you cut the first shape, put it on your lens by attaching in with rubber band on the lens and the lights in the background will get shape of heart.
When you cut the cardboard pieces it’s time to make round fold on the sides of the longer stripes or the attachments. To make this you can use some folding pen. Now it’s time to measure if your set fits on the lens that you want to use. If it is ok you can continue with your DIY project, and if don’t you will have to repeat the same procedure until you are sure that you reach your goal.

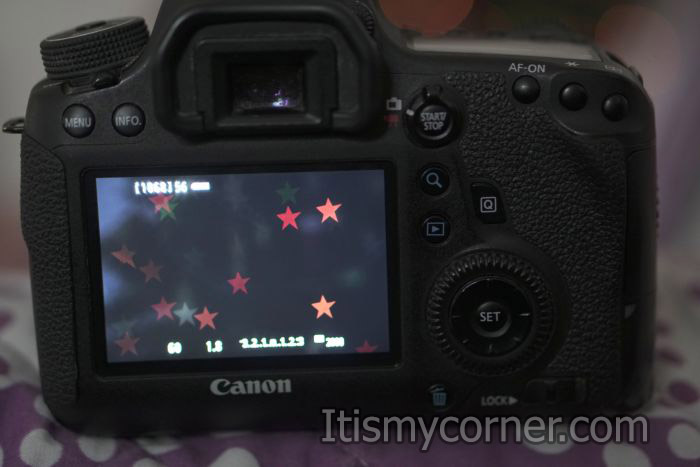
For the second part of the set I’ve drawn star. You can also draw it with free hand or you can use some mold. Please make sure that all your shapes and drawn in the center of the circle. Also, one additional advice, if you use scalpel for cutting the shapes you will have to put something below the cardboard so you are not going to scratch the working surface.
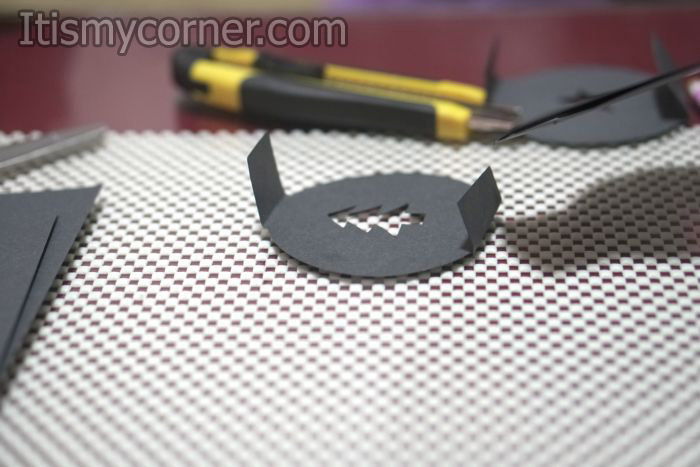
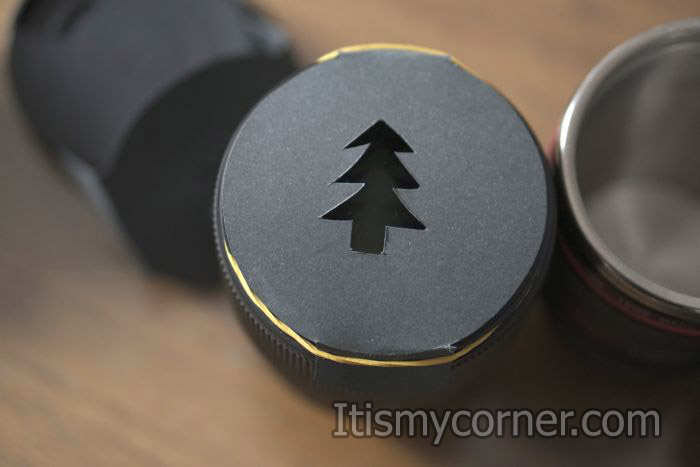
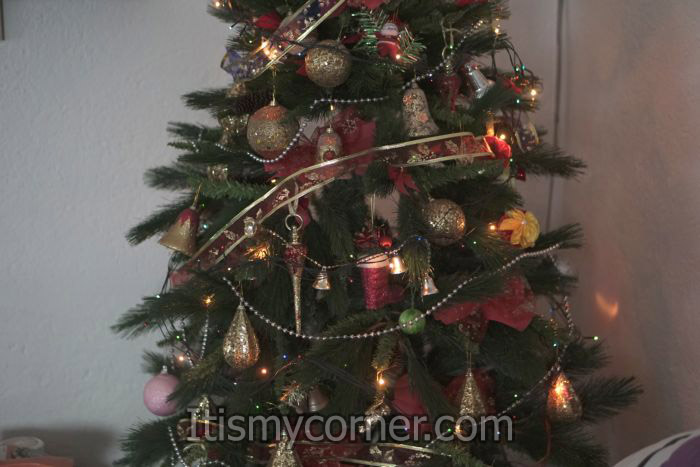
For the last filter I’ve chosen Christmas tree shape inspired of the holidays. For this shape I’ve used mold myself to draw it.
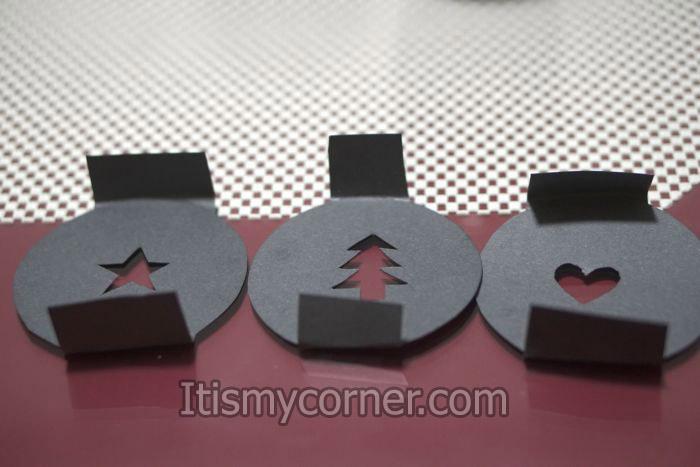
When you have your filters finished you can put them in one really beautiful box that you are going to create. I’ve chosen to buy a lens looking mug for tea, I’ve put the set of filters inside the mug and that was a perfect gift for my boyfriend. Here are some pictures made with this filters.
My name is Phoebe, and I reside in Santa Ana, California. Whenever I go through a day that’s been full of nothing but stress, I like to unwind by taking part in various types of crafting, which has always been one of my favorite hobbies. I also enjoy crafting as a way to simply pass the time whenever I don’t have anything else going on.