Menu
Handmade Card with Pictures
By Phoebe Nguyen | DIY

There’s nothing like receiving a card from someone special especially if they are the ones who have made it for you. Social media has undeniably been of great help as it always reminds us whose birthday it is, the dates and all that stuff. However, it gets to a point where being tagged on social media and receiving numerous wishes seems out of touch. If you want to make someone exceptional feel the weight of your affection towards him or her then you really have to up your game. It always is a usual thing to send somebody wall posts on social media, but if you want to make someone feel valued cards might be the one thing you should get for them.
Cards go a long way in making particular occasions seem out of the ordinary. Though considered contemporary can be an excellent way to warm the hearts. In those special moments, a card captures the mood and shows your girlfriend or boyfriend just how much they mean to you. Cards go best with gift boxes and tags. Adding these two can be a brilliant way of brightening up your note to that special one. There is nothing more heartfelt than something that someone has made an effort to make for you. Whether you choose to go with the very intricate and complicated techniques or a simple card you can be sure that after reading this you will come up with a card that will blow minds away. With that said, I am sure that by now you are quite convinced that cards are the best way to go. Adding a little bit of romance won’t hurt anyone so, be creative and add a note highlighting your boy or girlfriend’s favorite love quote. Here are some ideas that you should give a try.
Handmade Card with Pictures
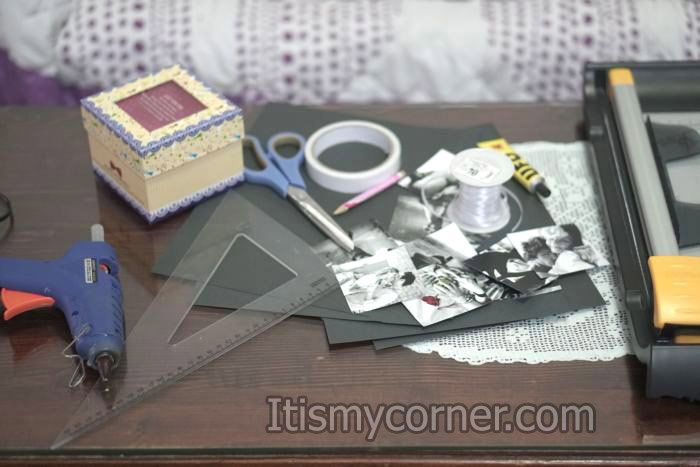
First, take your box and measure the dimensions of the box. Mine was 10x10cm so I’ve decided my card to be a little smaller so it can fit in the box. My card was 9x9cm and the pictures of the card should be smaller, mine were 7.5×7.5cm. When you decide the dimensions of the card you can start with preparing it. First choose some of your favorite pictures. The number of the pictures depends of how long you want your card to be.
When you have your pictures chosen it’s time to make them on the right dimension. You can open every picture in Photoshop, hit C on the keyboard, on the top where you can choose dimensions type yours, in my case 7.5cm in the two fields and hit Enter. You will see that your picture will be cut in the wanted dimensions. Repeat the same procedure for all the pictures, in my case 10, print them and cut them.
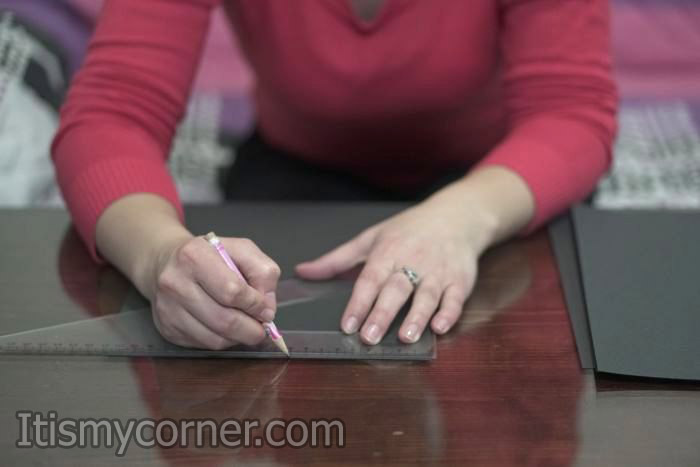
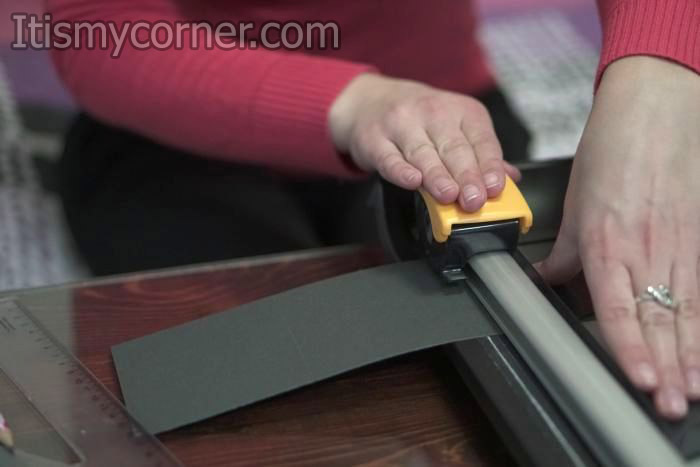
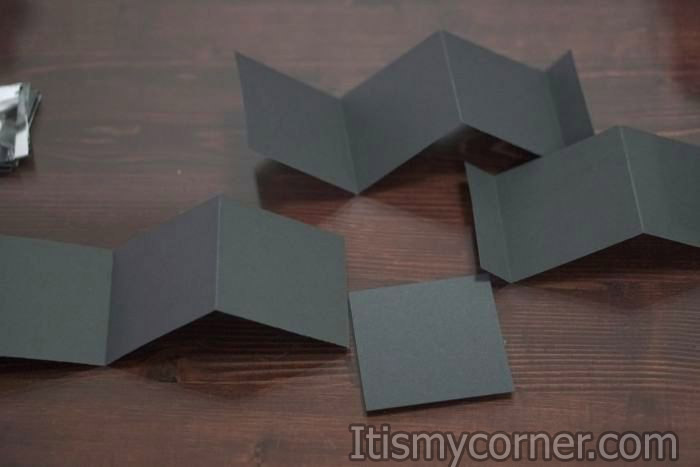
Now, take the black cardboard (you can use any color, I’ve chosen to use black one) start measuring on the longer side 9cm. from one A4 sheet you will get two stripes 9cm wide and 21cm long. You will need a few stripes depending of how many pictures you’ve chosen.
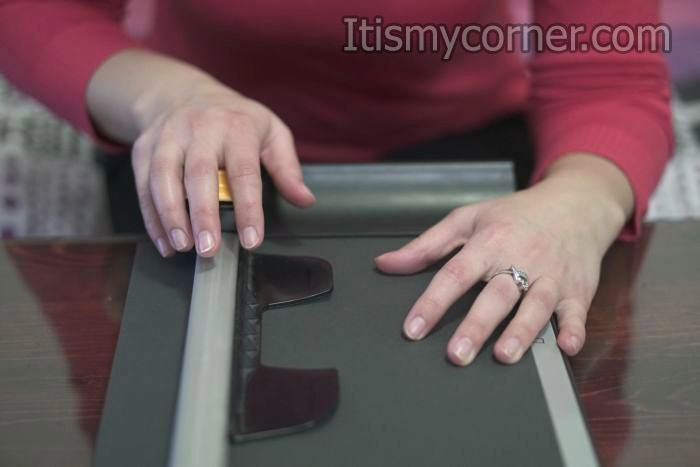
Take one stripe and fold it on every 9 cm on the longer side so you will get something like on the picture below.

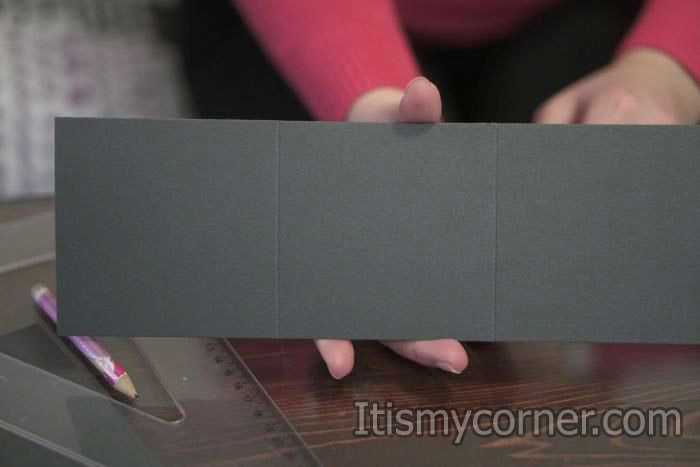
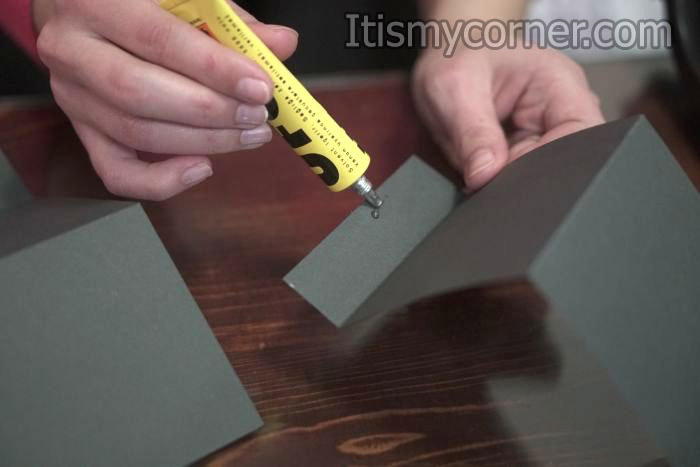
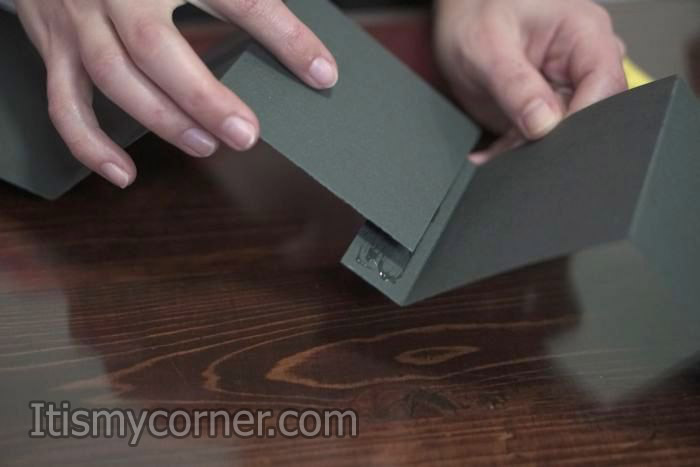
On every stripe you will get like 3cm left, you can use that to attach the stripes one next to each other. I’ve used regular glue for this step.
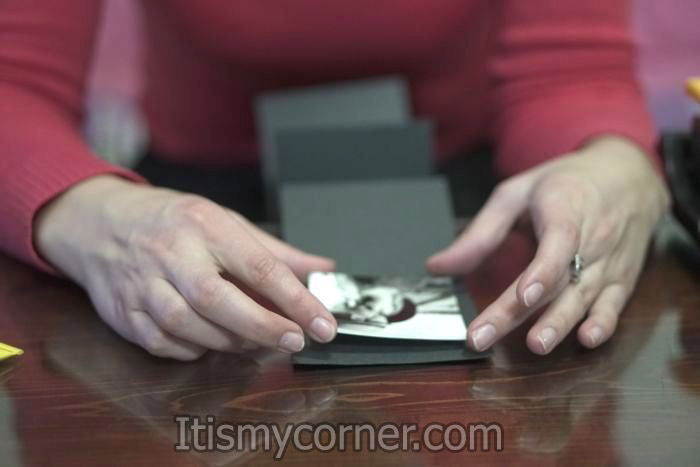
When you have one long stripe for all your pictures you can start with gluing the pictures.
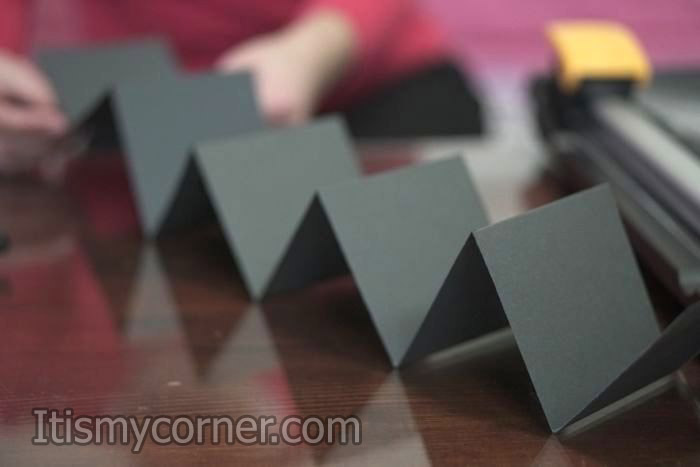
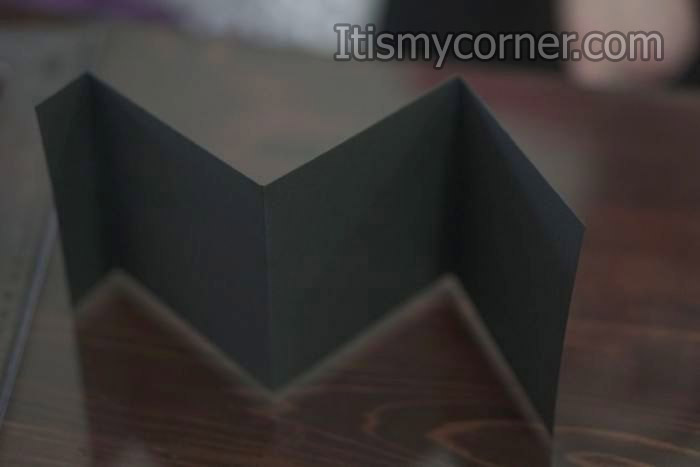
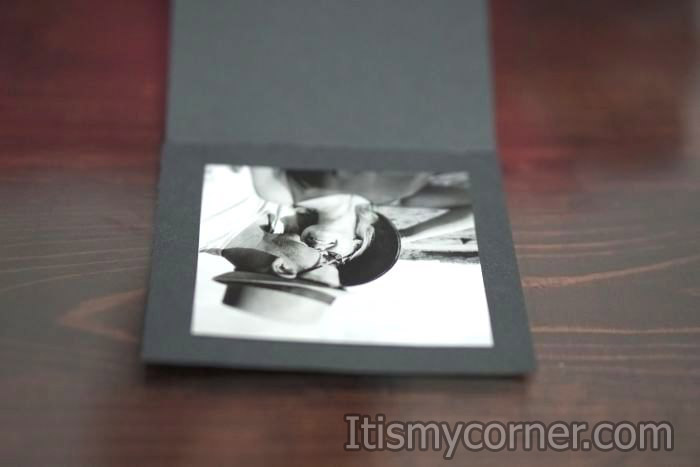
Glue the first picture on the top. Then continue gluing the rest of the pictures. Your stripe should be folded to get some effect of zigzag one side folded inside and one side folded out. When you glue all your pictures you should get something like in the picture below.
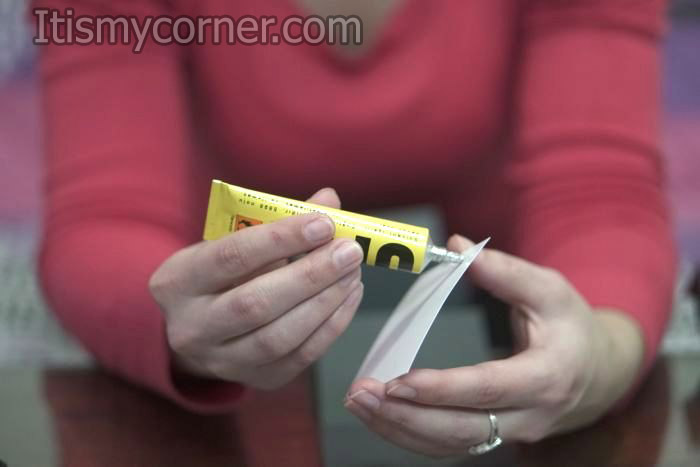
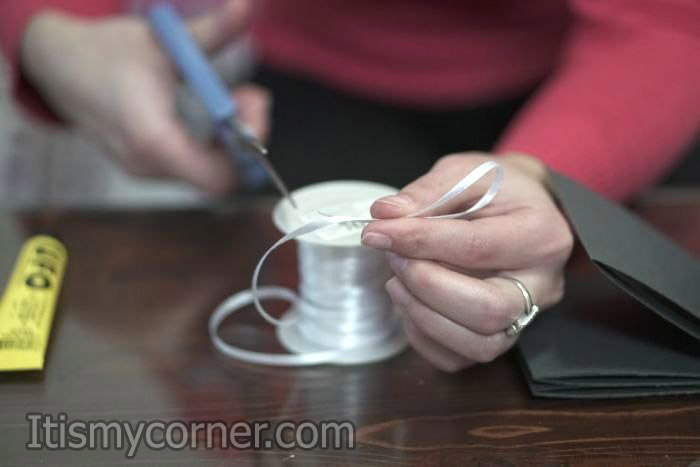
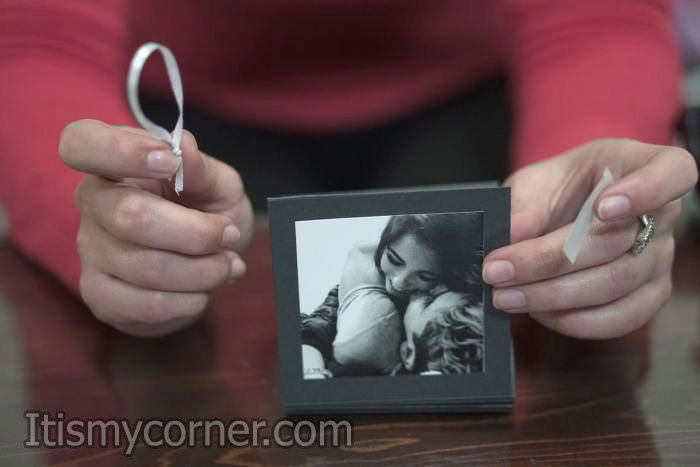
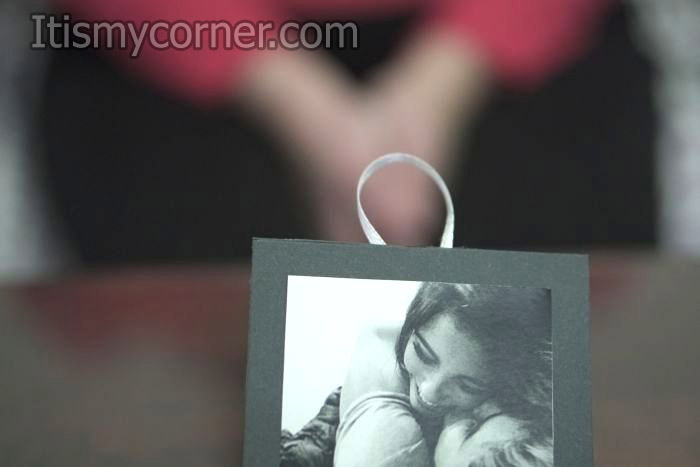
Now you have to put something on the back of the first picture so you can easily pull the card out of the box. For this step I’ve chosen to use little piece of satin ribbon. Glue it on the back side of the first picture and put your card in the box.

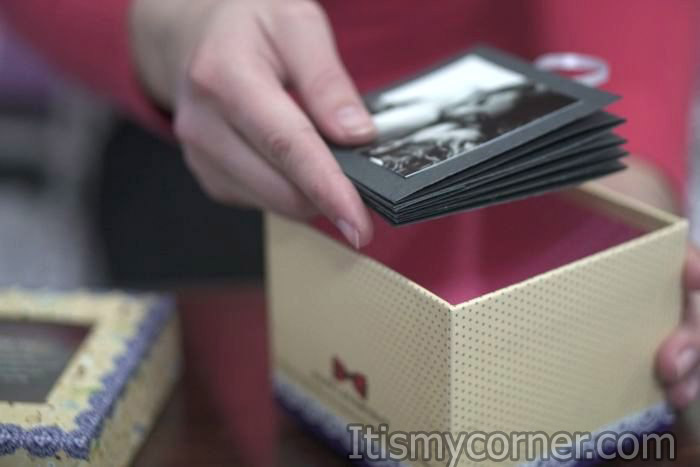
Put your card in the box you’ve chosen previously and you have a perfect gift.
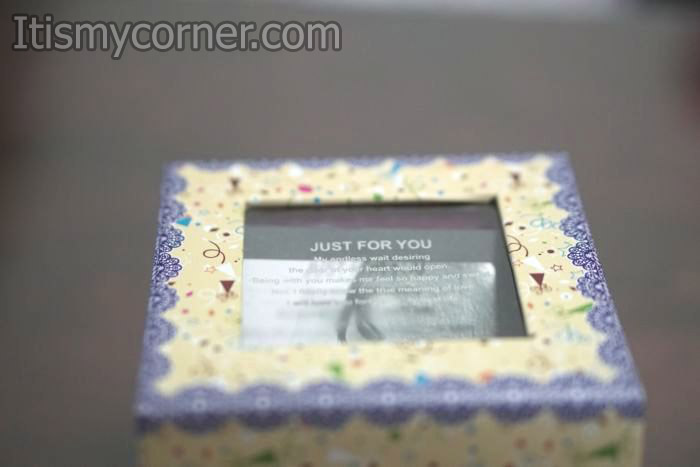
You can always be creative and glue some messages on the back side of the card, or repeat the same procedure and glue pictures on the back side too. Also, you can make something like harder cover to make it look like personalized mini photo book, it’s up to you.
Remember that you can always put some candies to cover the card so you can get the effect like your box is filled only with candies and the surprise will be bigger.
My name is Phoebe, and I reside in Santa Ana, California. Whenever I go through a day that’s been full of nothing but stress, I like to unwind by taking part in various types of crafting, which has always been one of my favorite hobbies. I also enjoy crafting as a way to simply pass the time whenever I don’t have anything else going on.