Menu
Message on Wood
By Phoebe Nguyen | DIY

This is not a message in a bottle, but it is the next best thing. This is the type of script that you can display proudly in your home. You will not need to run out the the store to buy catchy phrased wall hanging. Now you can create your own quote to hang in your home.
This is a minimal clean up, minimal set up craft. The paint used can be reused for future wall hangings as well. If you love crafts with wood, then this is the one for you.
You will find that your love of crafting will grow through this simple DIY tutorial. It is not a Martha Stewart level project, so you will find you can do it with minimal experience. So get ready to have more art for display in your home. And your partner will be glad that you did not wrack up high bills at the craft store.
Message on Wood
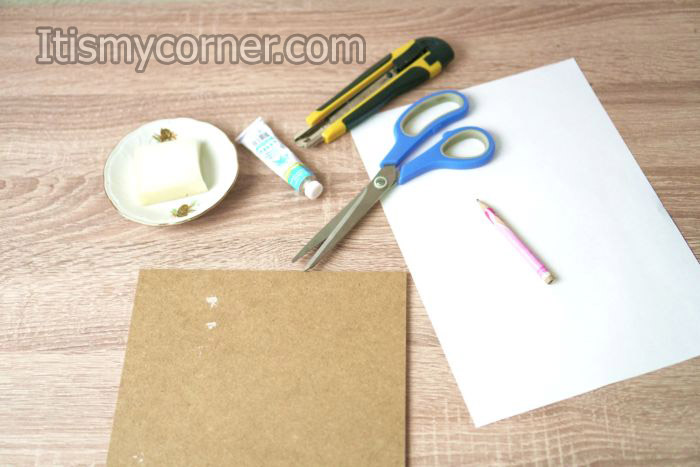
The piece of wood doesn’t have to be too big. For example mine was around 20cm x 20cm. You can definitely choose the size of the wood by your taste. It’s totally up to you. Please remember that if you are using smaller wood piece you would like to choose shorter message. In this way the letter will be bigger and you will be able to read the message from the other side of your room.
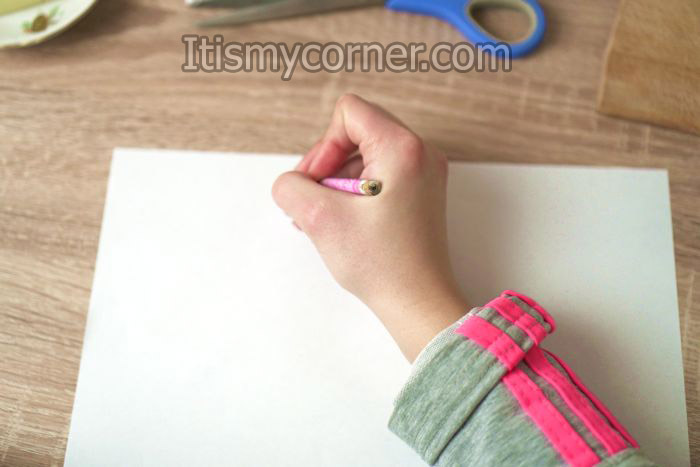
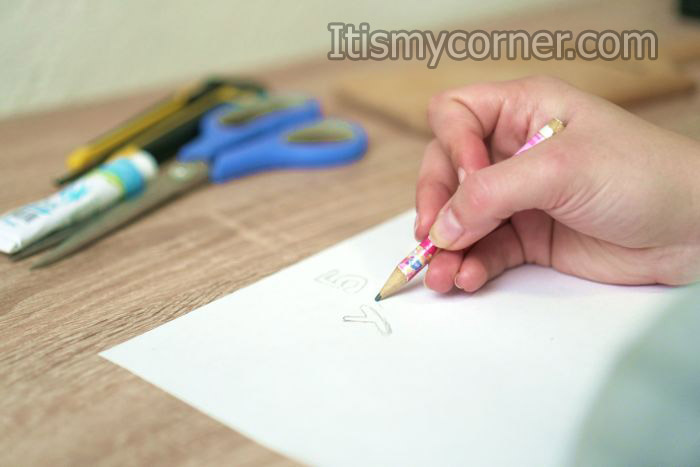
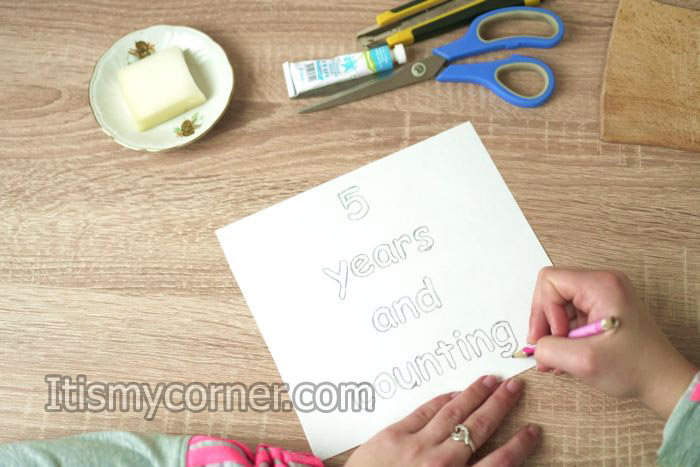
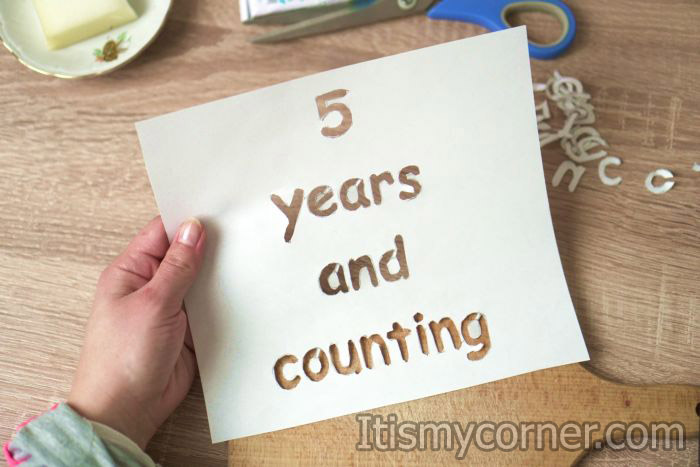
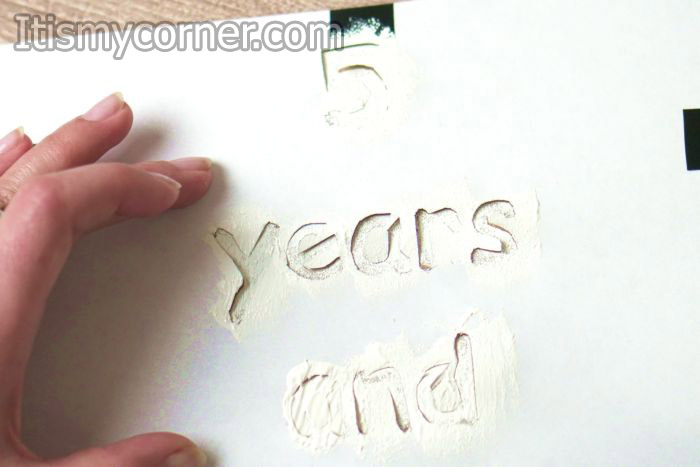
First, take your white sheet and start drawing your favorite quote with some bigger letters. My message was ”5 years and counting” but you can choose any message you want. You can also use quotes like: “5 gone, forever to go”, “You complete me”, “Real love stories never has endings. I would advise you to choose some shorter quote that will nicely fit on your wood.
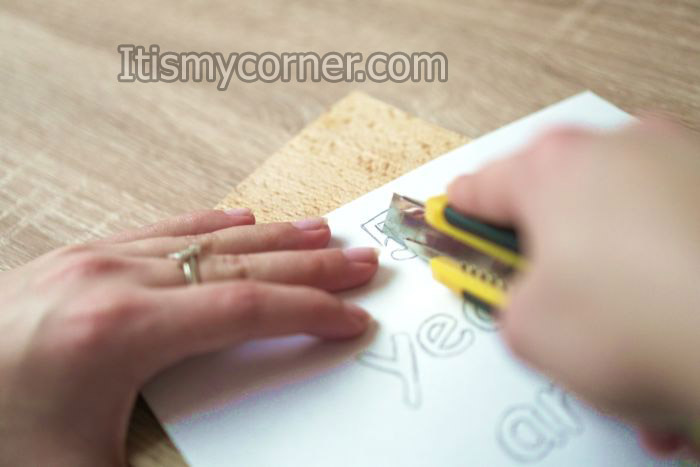
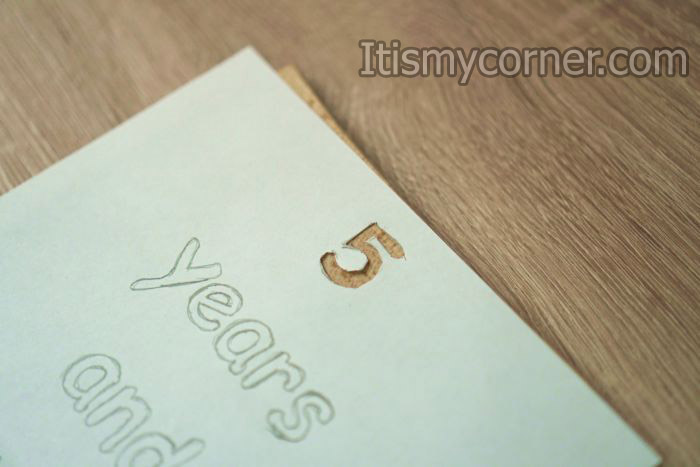
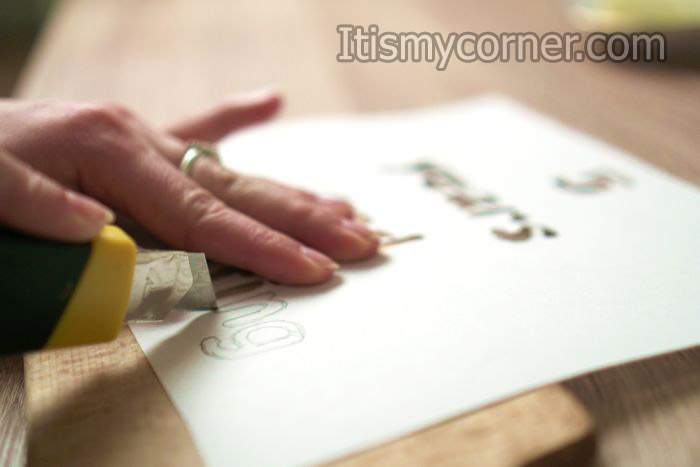
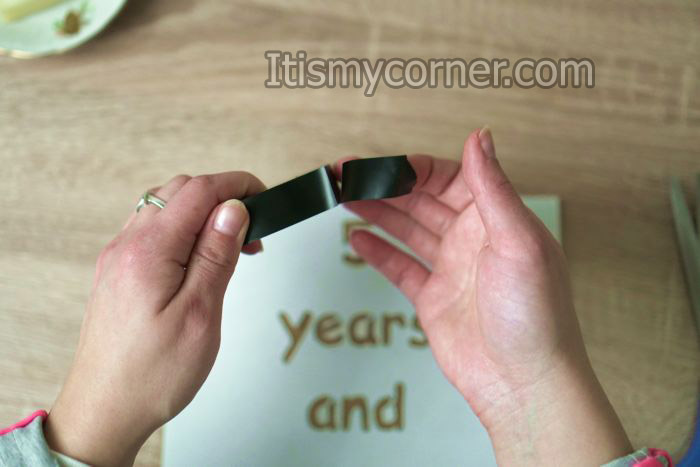
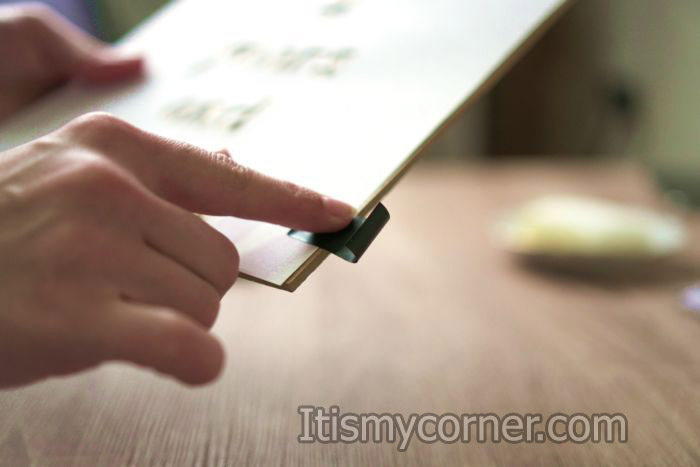
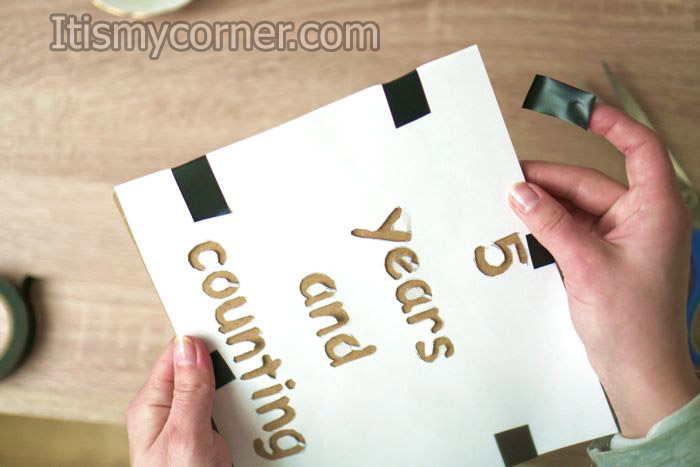
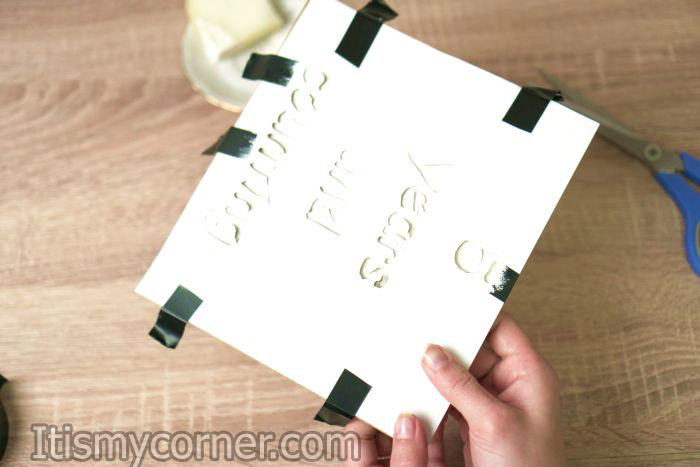
When you finish drawing your message it’s time to cut the letters. You have to cut the letter so you will end up with the white sheet and only the letters taken out. For this step I’ve used scalpel but you can do what you think its best. Glue that sheet with some regular glue on the wood so it will stay in the place. One thing you need to know when you are cutting the letter. Please make sure that all your letter that has pieces inside, those pieces are going to stay on their place. I’m talking about the letters like A, B, D, O etc. Find some way to cut out the letters and you have those pieces left on the sheet. I’ve created something as you can see on the picture below.
Now, open your color and put it in some old plate that you are not using. I’ve used white color but you can always experiment a little and use some other color, maybe you can use your imagination and paint one letter in one color and other letter in different color. It’s totally up to you. Don’t forget that you can also use some other quotes, maybe related to friendship or inspirational quotes. You can also make a few of these and put them on your empty wall in some interesting undefined shape. When you have your sheet stick to the wood you can now start with painting.
Take your sponge put it in the color and start taping on the board over the letters. One additional advice, don’t add water to the color. I’ve added a little and the first few letters were smudged a little. When you’ve finished with painting let it dry a little and then take off the white sheet.
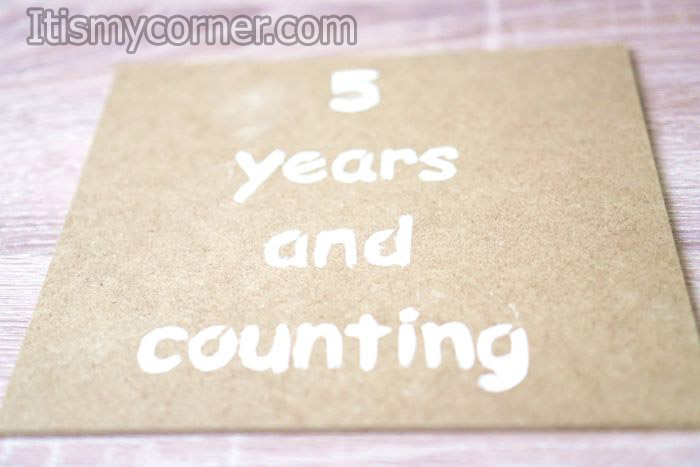
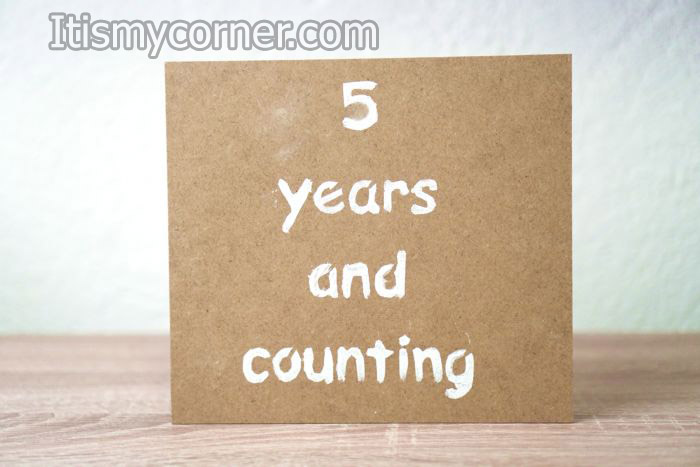
The final result will be stunning but as I said previously don’t put some water in the paint.
My name is Phoebe, and I reside in Santa Ana, California. Whenever I go through a day that’s been full of nothing but stress, I like to unwind by taking part in various types of crafting, which has always been one of my favorite hobbies. I also enjoy crafting as a way to simply pass the time whenever I don’t have anything else going on.