DIY String Art Heart
By Phoebe Nguyen | DIY
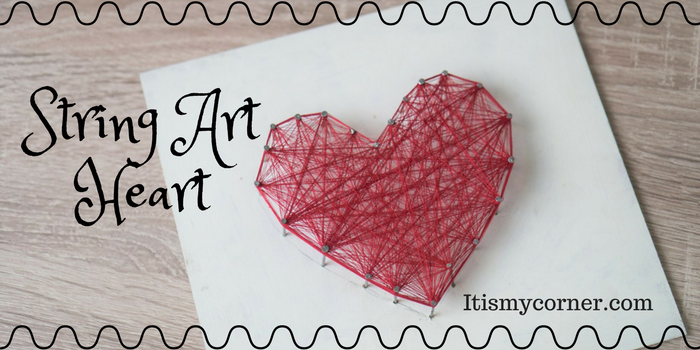
Gifts that you can make yourself are the best kind. This tutorial will explore how to make astring art heart. One of the greatest parts of this craft are the limited materials that it needs. Chances are, you have many of the items you need, if not all of them, in your own home already.
People love art. And 3D art is especially popular right now. It is something that people cherish because it is handmade. And you can make these for your own home as well. They give a folk art feel to any space.
So prepare to get your artistic side flowing as you wield together this string art heart. Pretty soon, you will be teaching your neighbors how to do the same craft. This tutorial will be simple and will have all the elements that you need to make the craft look just like what the picture presents.
DIY String Art Heart
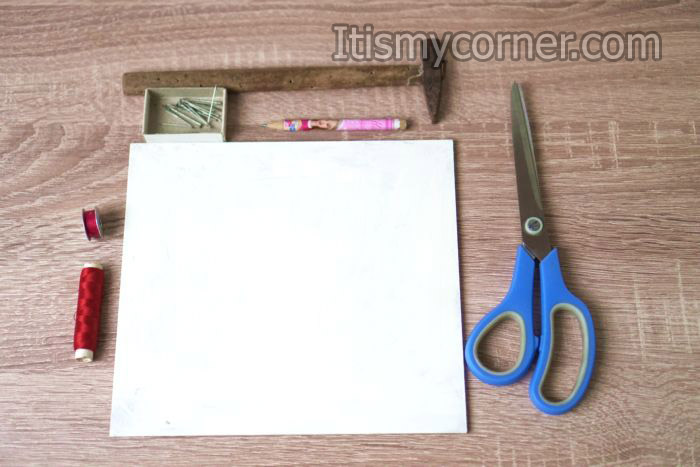
First you have to choose how big your wood will be. Mine was 20cm x 20cm, it all depends of your taste. Mine was square and it looked perfectly for me. I’ve also decided to paint my wood with white paint. Please consider that this step is totally optional. Since I’ve painted my wood white, I’ve decided to use red thread, but let’s go step by step.
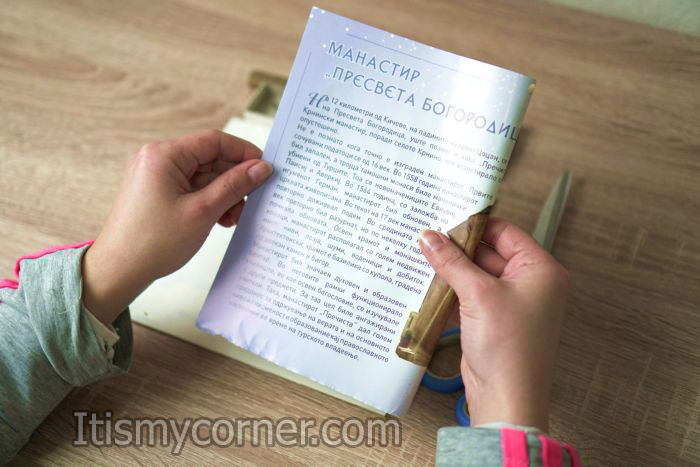
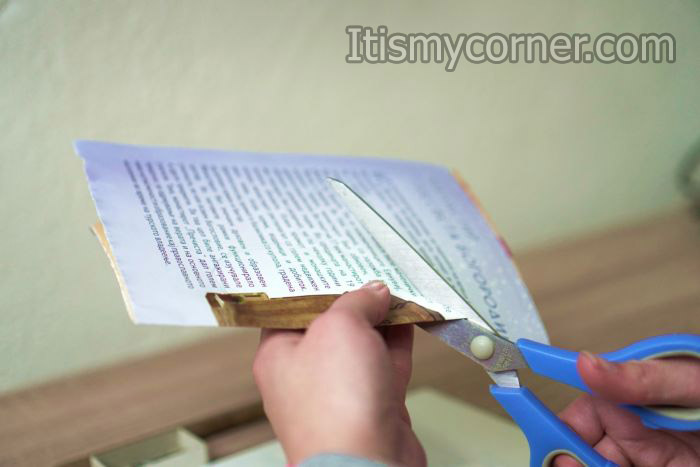
Take your wood you’ve already chosen and draw some heart shape on it. If you are not able to draw a regular heart shape take some sheet of old newspaper, fold it on half, draw half heart shape on the one side and cut that shape using scissors. When you open the folded sheet you should end up with regular heart shape. You can use this heart as a pattern to draw your heart on the wood.
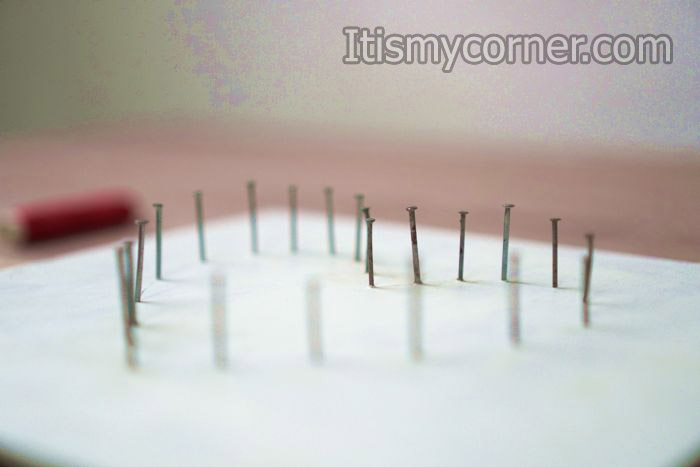
When you have drawn the heart shape, it’s time to put your iron nails around the heart shape. For this step I’ve decided to use hammer, but you can use anything that is heavier. There is one thing you need to know for this step. Please make sure that all your iron nails are with same length. Also when you put the iron nail in the wood make sure that the space between the wood and the head of the iron nail is the same everywhere.
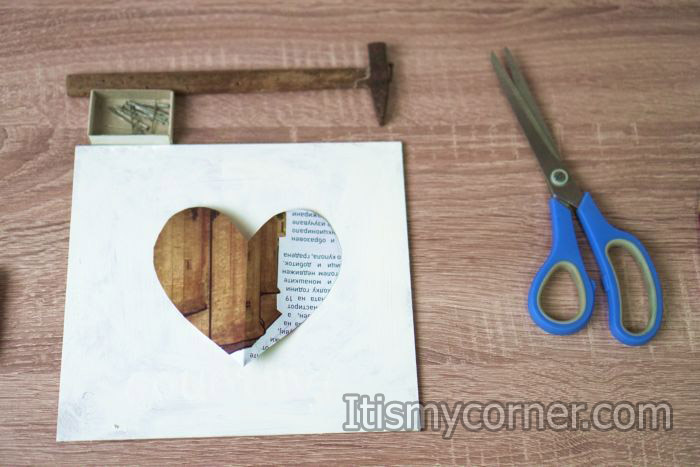
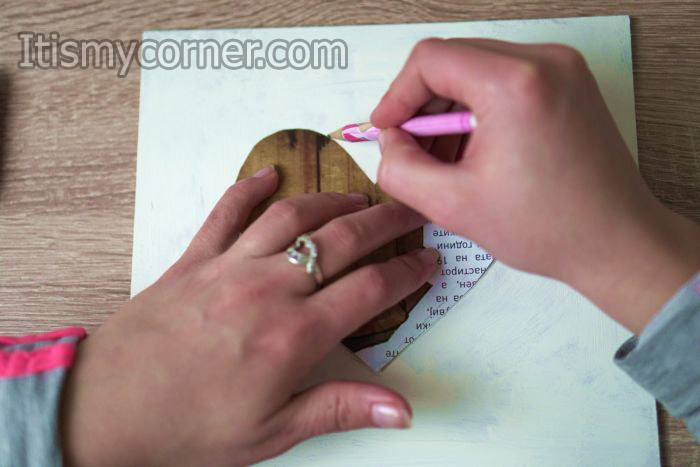
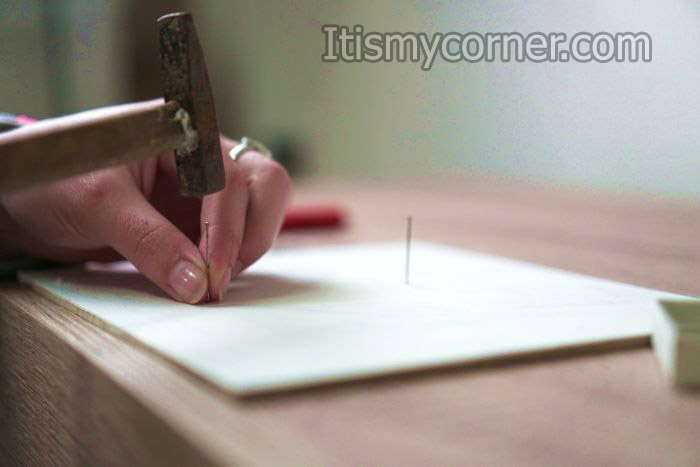
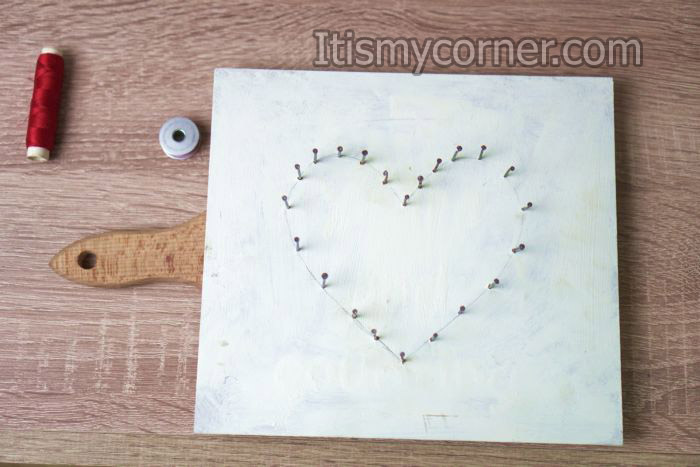
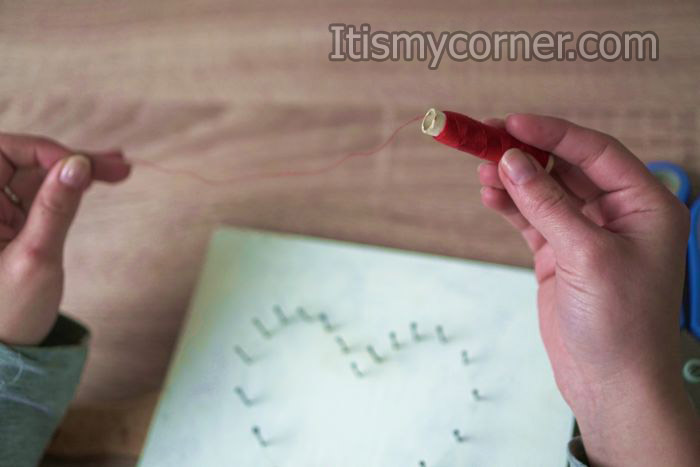
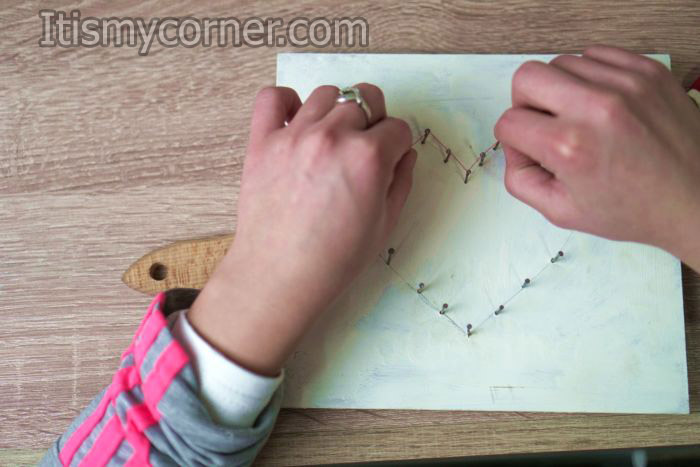
Now it’s time to start wrapping the thread around the iron nails. You want to go in all the different directions just to fill in the space between the iron nails. You can go first around the heart shape turning the thread around every iron nail, then you can go on every opposite iron nail, feel free to go in every possible direction. You have to fill all the gaps in the heart. I’ve used really thin thread so this step was really long for me. Maybe it will be easier and even will look more beautiful if the thread is thicker.
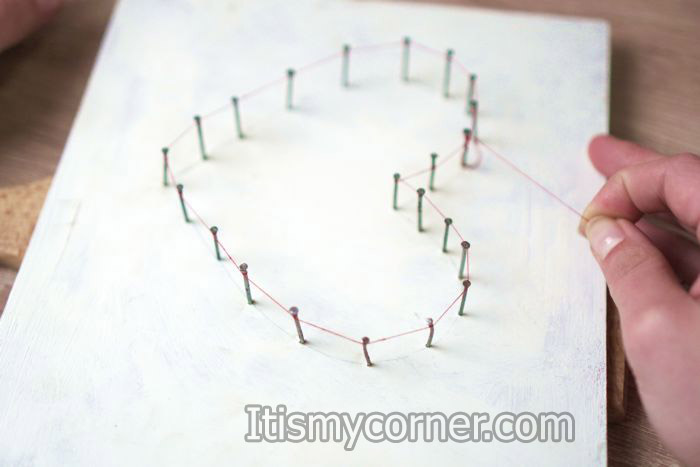
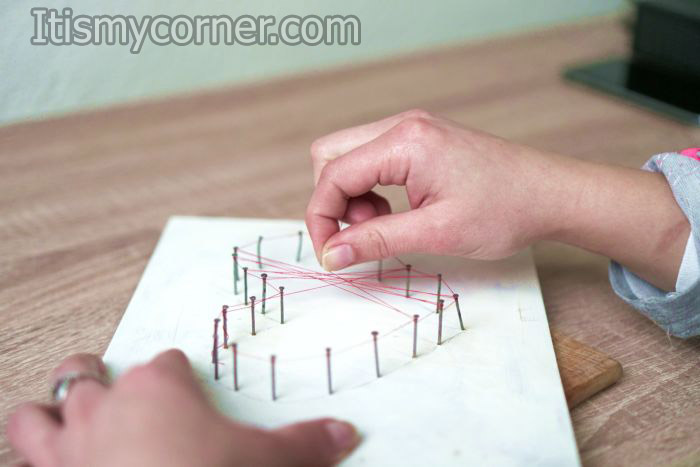
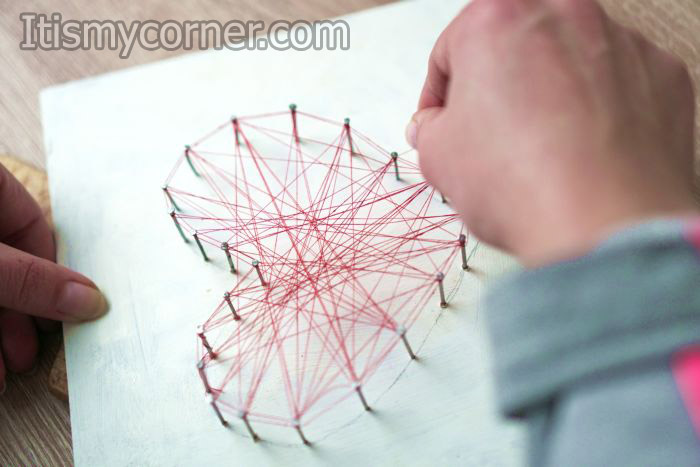
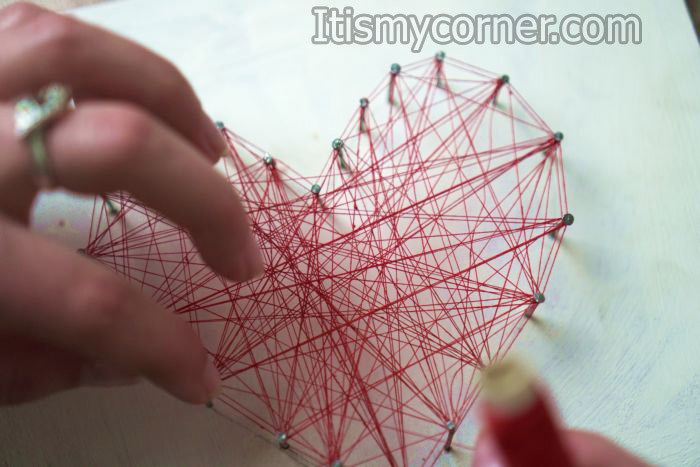
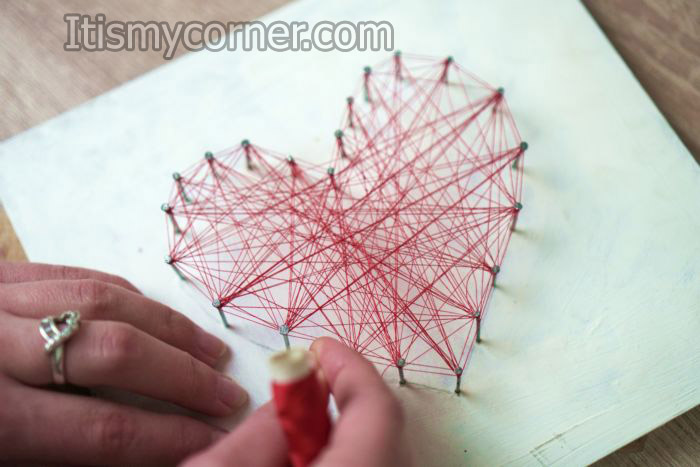
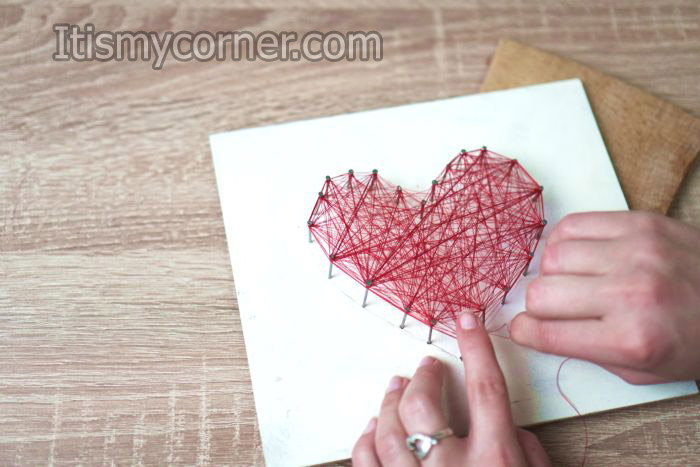
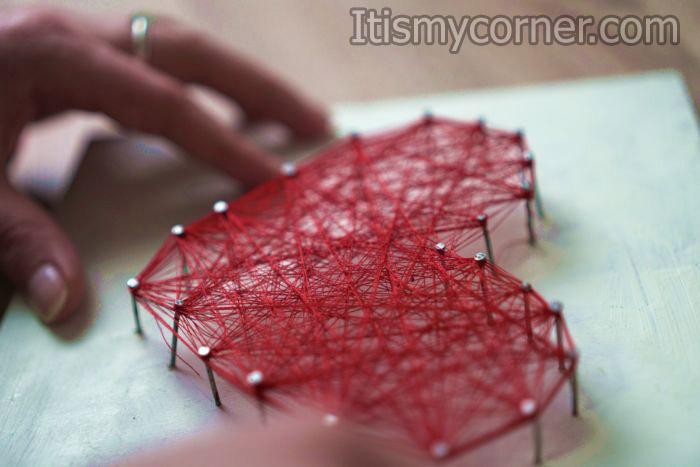
When you finish with this step you have your perfect gift for anniversary, Valentines day, birthday etc.
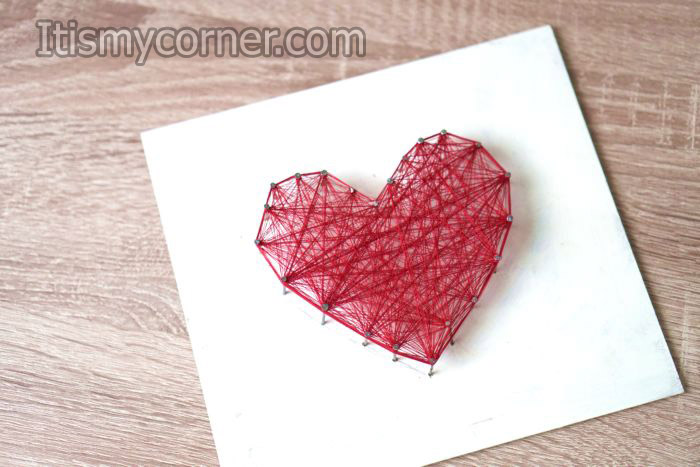
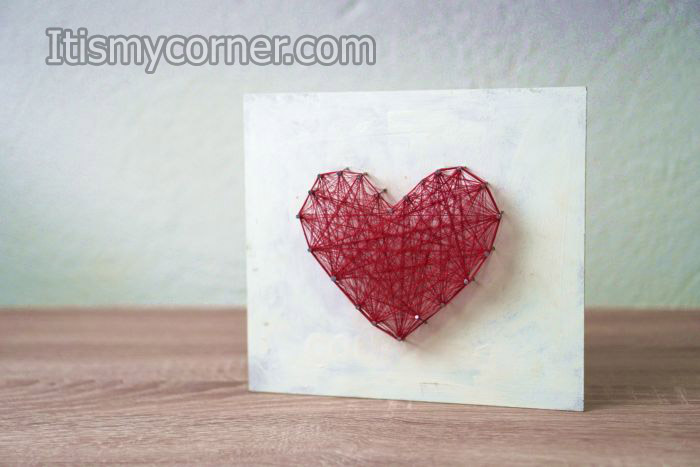
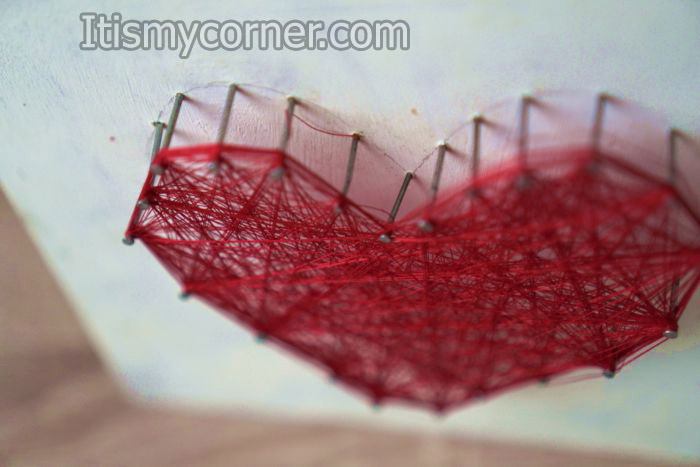
Please have in mind that this is only my combinations of colors. You can always make something different. Maybe you have some idea about making a different shape like the initials of the names, or the number of your anniversary. Just feel free to try everything. There are not rules about how to do this. Also, you can use black wood and the thread can be in different color too, like black wood with white thread. If you are planning the wood to stand beside the wall you can leave it like that. In case you want to hang it on you wall you would like to put some handle so you can hang this wood. It’s totally up to you. Here is the finished look of my heart shape with thread.
My name is Phoebe, and I reside in Santa Ana, California. Whenever I go through a day that’s been full of nothing but stress, I like to unwind by taking part in various types of crafting, which has always been one of my favorite hobbies. I also enjoy crafting as a way to simply pass the time whenever I don’t have anything else going on.