Menu
Handmade 3D Pop-up Cards to WOW Your Loved Ones
By Phoebe Nguyen | DIY

Just when it seemed greeting cards might be losing their cultural relevance and going the way of the dinosaur, up “popped” the latest craze, transforming the traditional greeting card from simple cardstock to a miniature world of 3D pop-up whimsy. All the magic of pop-up books has been condensed into cards, adding a level of surprise and wonder upon moment of revelation that traditional greeting cards could never boast. Giving and receiving a simple “Happy Birthday!” message has never been so much fun!
As the popularity of pop-up cards increases, so does the variety, selection, and manufactured supply available for purchase. With pop-up cards stocked nearly everywhere greeting cards are sold, the trend may well become a new tradition. While mass-produced pop-up cards are beautiful, often interactive, and some almost mind-blowingly intricate, they’re starting to carry some heavy price tags.
Creating your own 3D pop-up card is not only cost-effective, but also presents an opportunity for fun and creativity in sharing a truly unique and heartfelt gift. Not crafty or artistic you say? No problem. I’m going to show you how simple it is to create beautiful, handmade 3D pop-up cards to WOW your loved ones with appreciation and whimsical wonder.
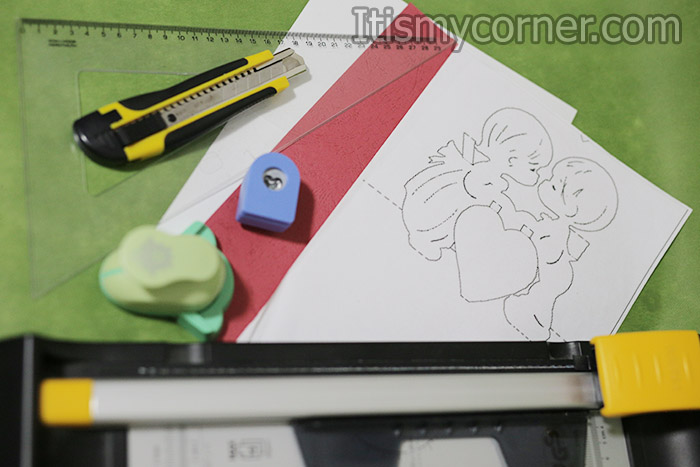
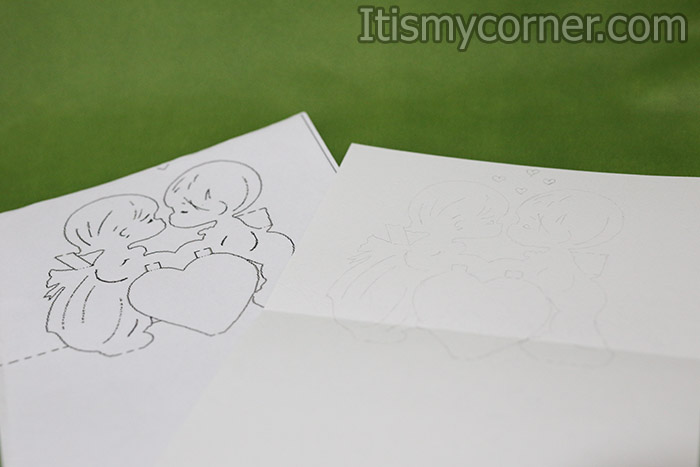
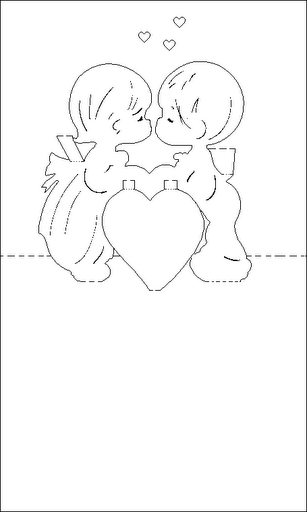
The first thing you need to do is to draw the template with the kids on the white sheet. To make this, put the sheet with the template under the white sheet, go near some window or some other light energy and start drawing. If you have some good printer you can print it directly on the cardboard. When you finish this step you should get something like this.
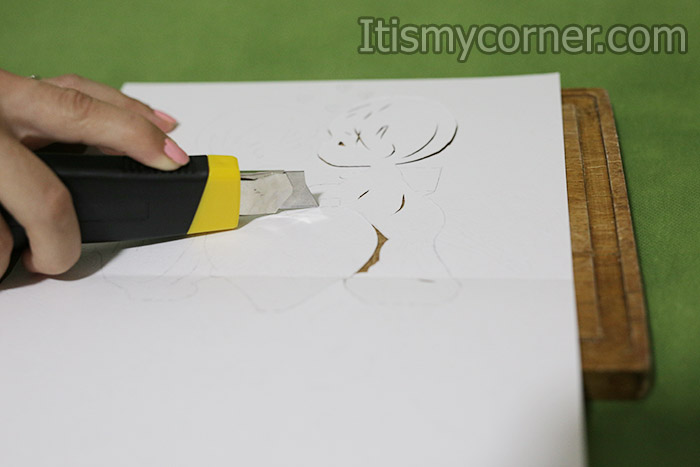
In the next step you need to cut the template. The best way to do that is to take some hard surface that you will not need in future (you are going to damage it, because you are going to cut the template there), put the white sheet on the surface and start cutting with the scalpel. REMEMBER: YOU ONLY HAVE TO CUT THE FULL LINES!!!
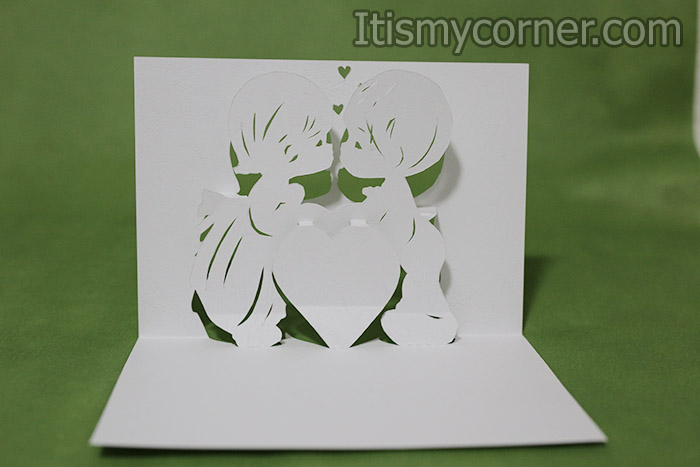
When you finish with the cutting step you should get something like this:

Now you have to go through the template and fold every line with hyphens. When and if you make the folding right you should get the kids popping out of the card.
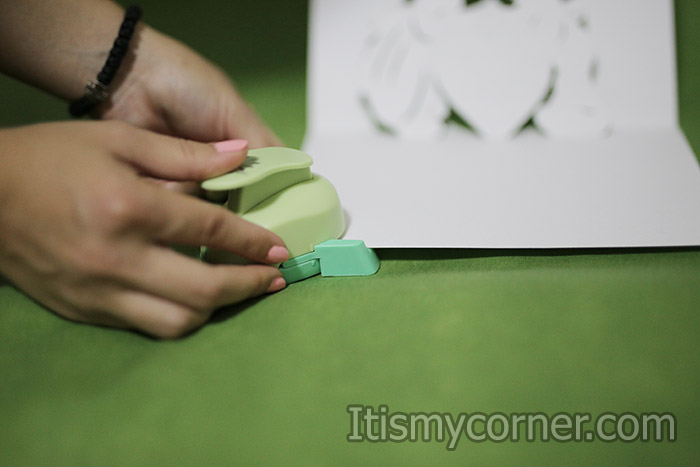
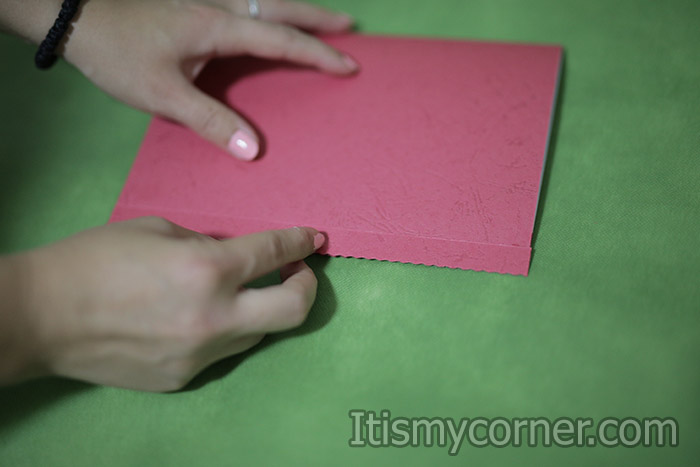
This step is optional. If you have some paper punch for edges you can use it and make the edges of the card a little more fancy.
Next step is gluing.
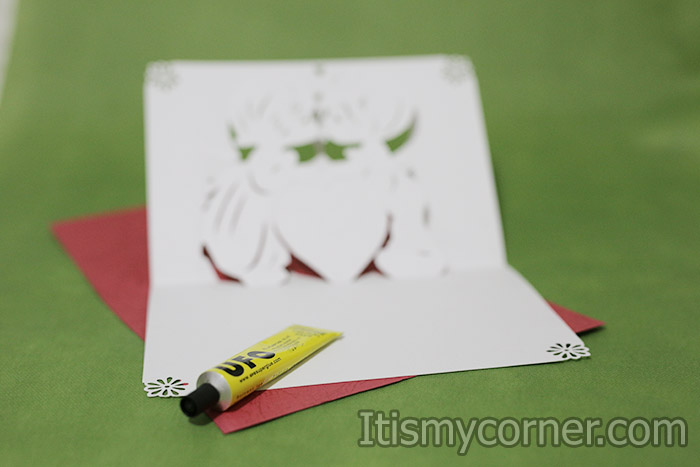
Take the other sheet of paper that you are going to use (in my case red) and fold it on half. In this way you are going to make the gluing easier. Now, you put the white sheet on the one in color and glue them together. When you finish this you should come up with something like this:
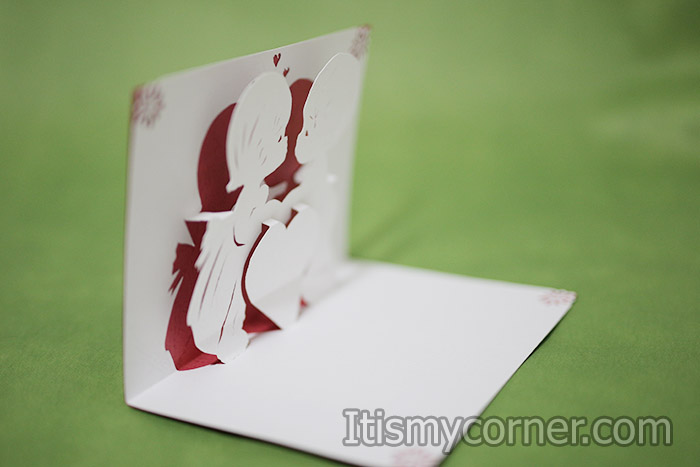
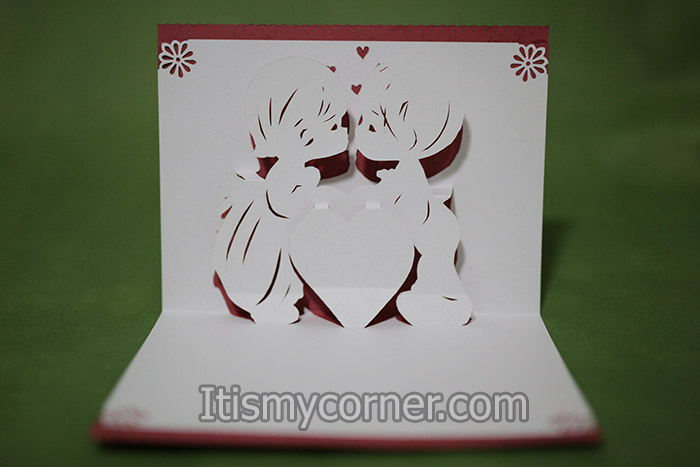
Now it’s time to close the card and it looks like we have a little problem.
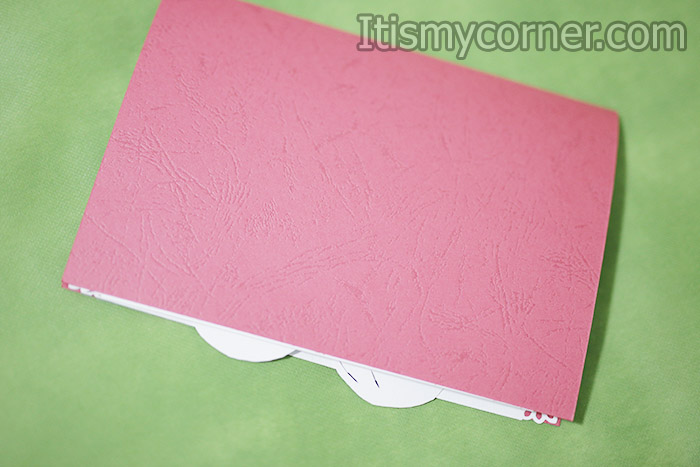
The heads of the kids are getting out and we don’t want that. In the next few steps we are going to fix this little problem. Take a little piece of sheet with same color as the background color and cut two strips.
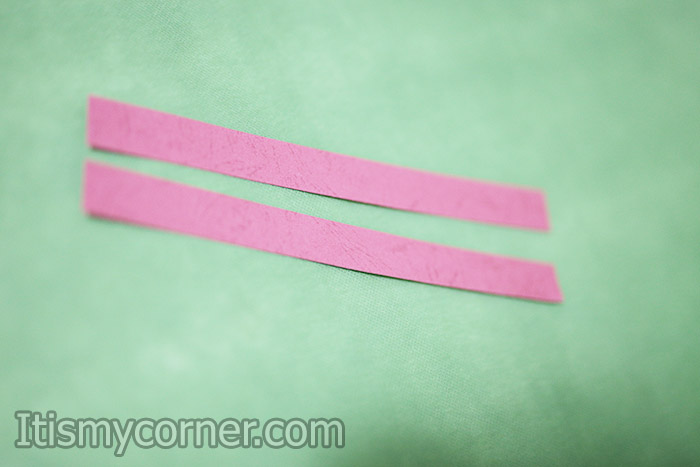
The strips should be 2cm wide and 21 cm long. Now I’m going to take mu machine for cutting paper and the knife for wavy cutting.
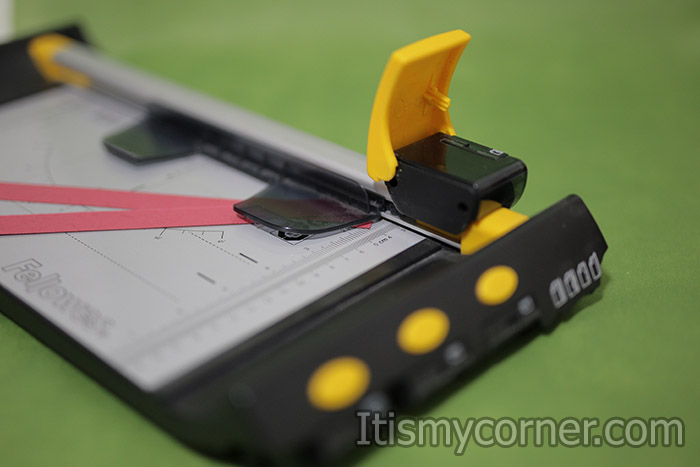
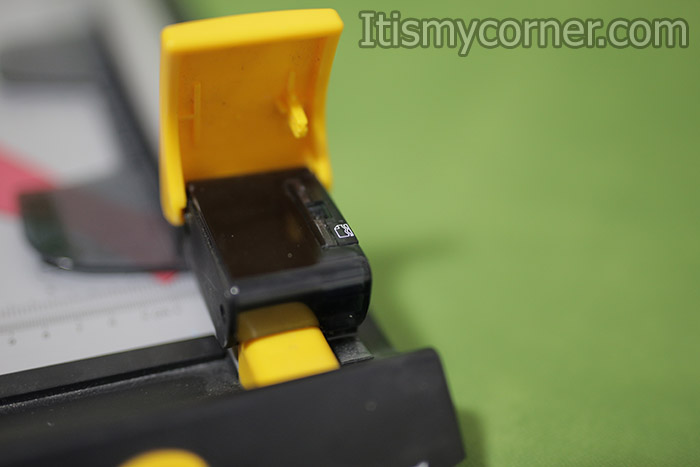
If you don’t have this type of machine at home, you can make the same thing with scissors. To make it easier and cut the same way you can cut the strips together. Now glue the strips on the edges of the card and the problem is solved.
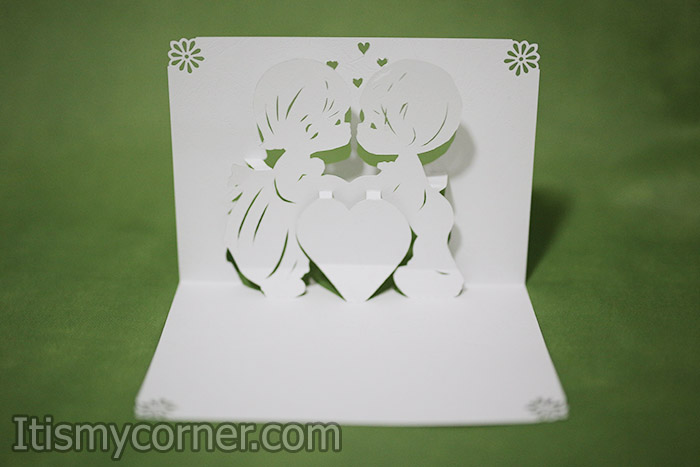
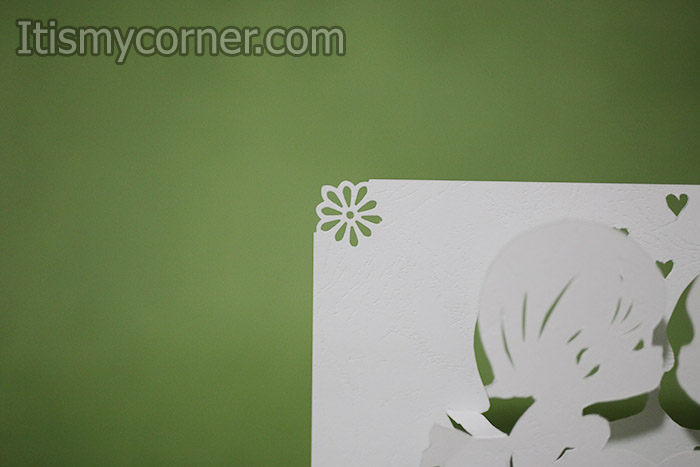
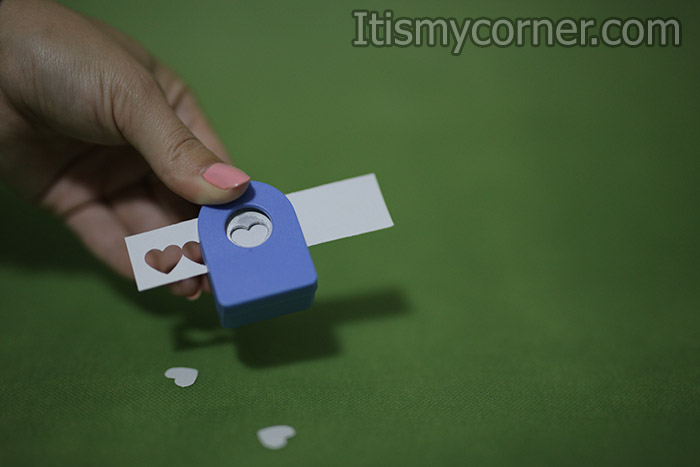
You can also decorate the outside of the card as you wish. I’ve used my paper punch for cutting hearts and this is what I’ve made.
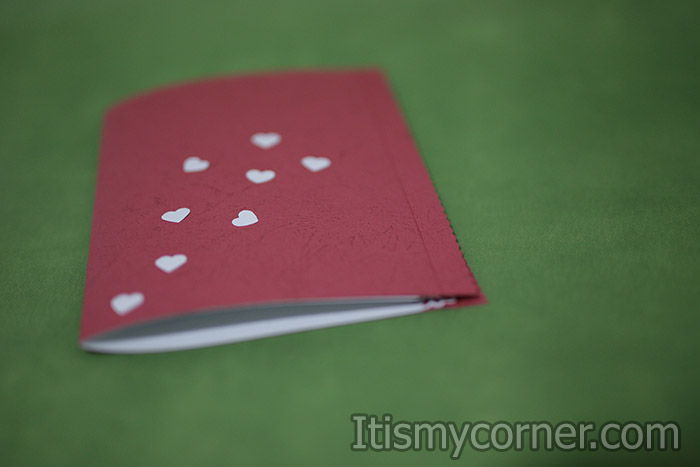
And voila, you have created this beautiful pop up card. Congratulations!!!
Additional advice: Don’t fold the white paper on half before cutting the template so you don’t get that folding on the heart and on the legs. Fold it after you cut the kids and you will get better result!

You can find the free template here.
My name is Phoebe, and I reside in Santa Ana, California. Whenever I go through a day that’s been full of nothing but stress, I like to unwind by taking part in various types of crafting, which has always been one of my favorite hobbies. I also enjoy crafting as a way to simply pass the time whenever I don’t have anything else going on.